The Little Shop of ElleSee: DIY project

Showing posts with label DIY project. Show all posts

Weekend DIY: Office Closet Makeover

March 20, 2022


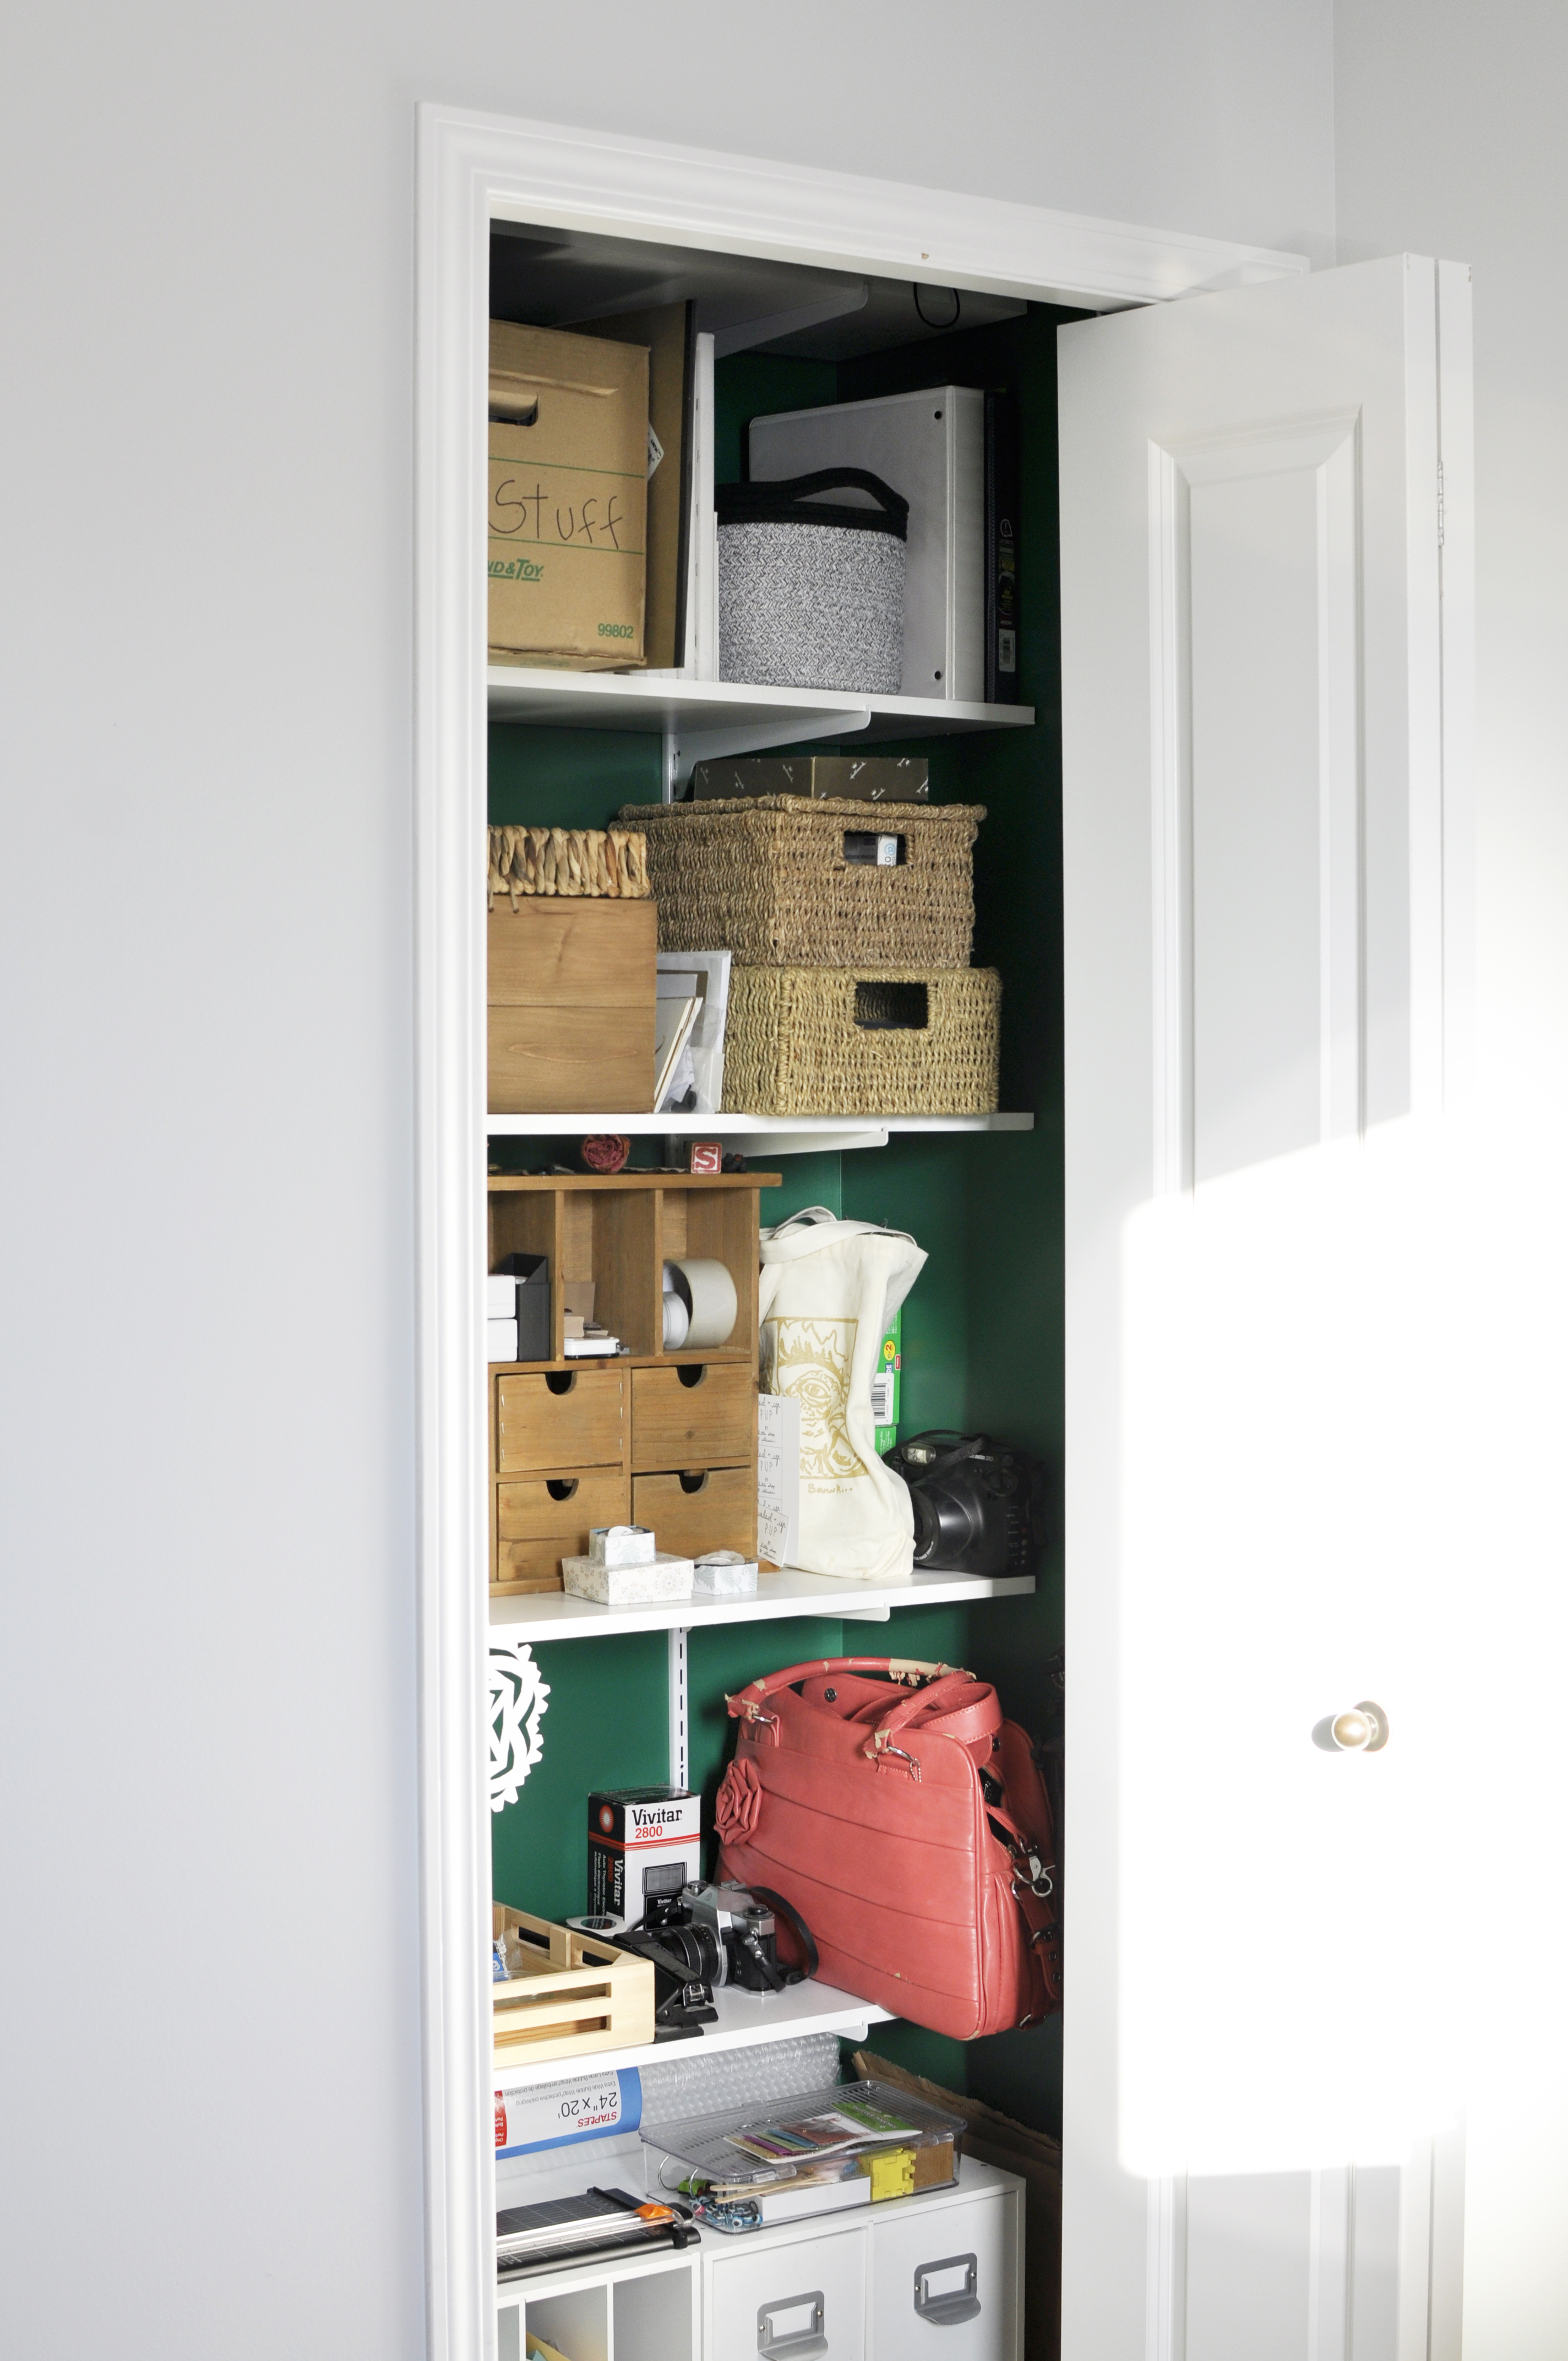
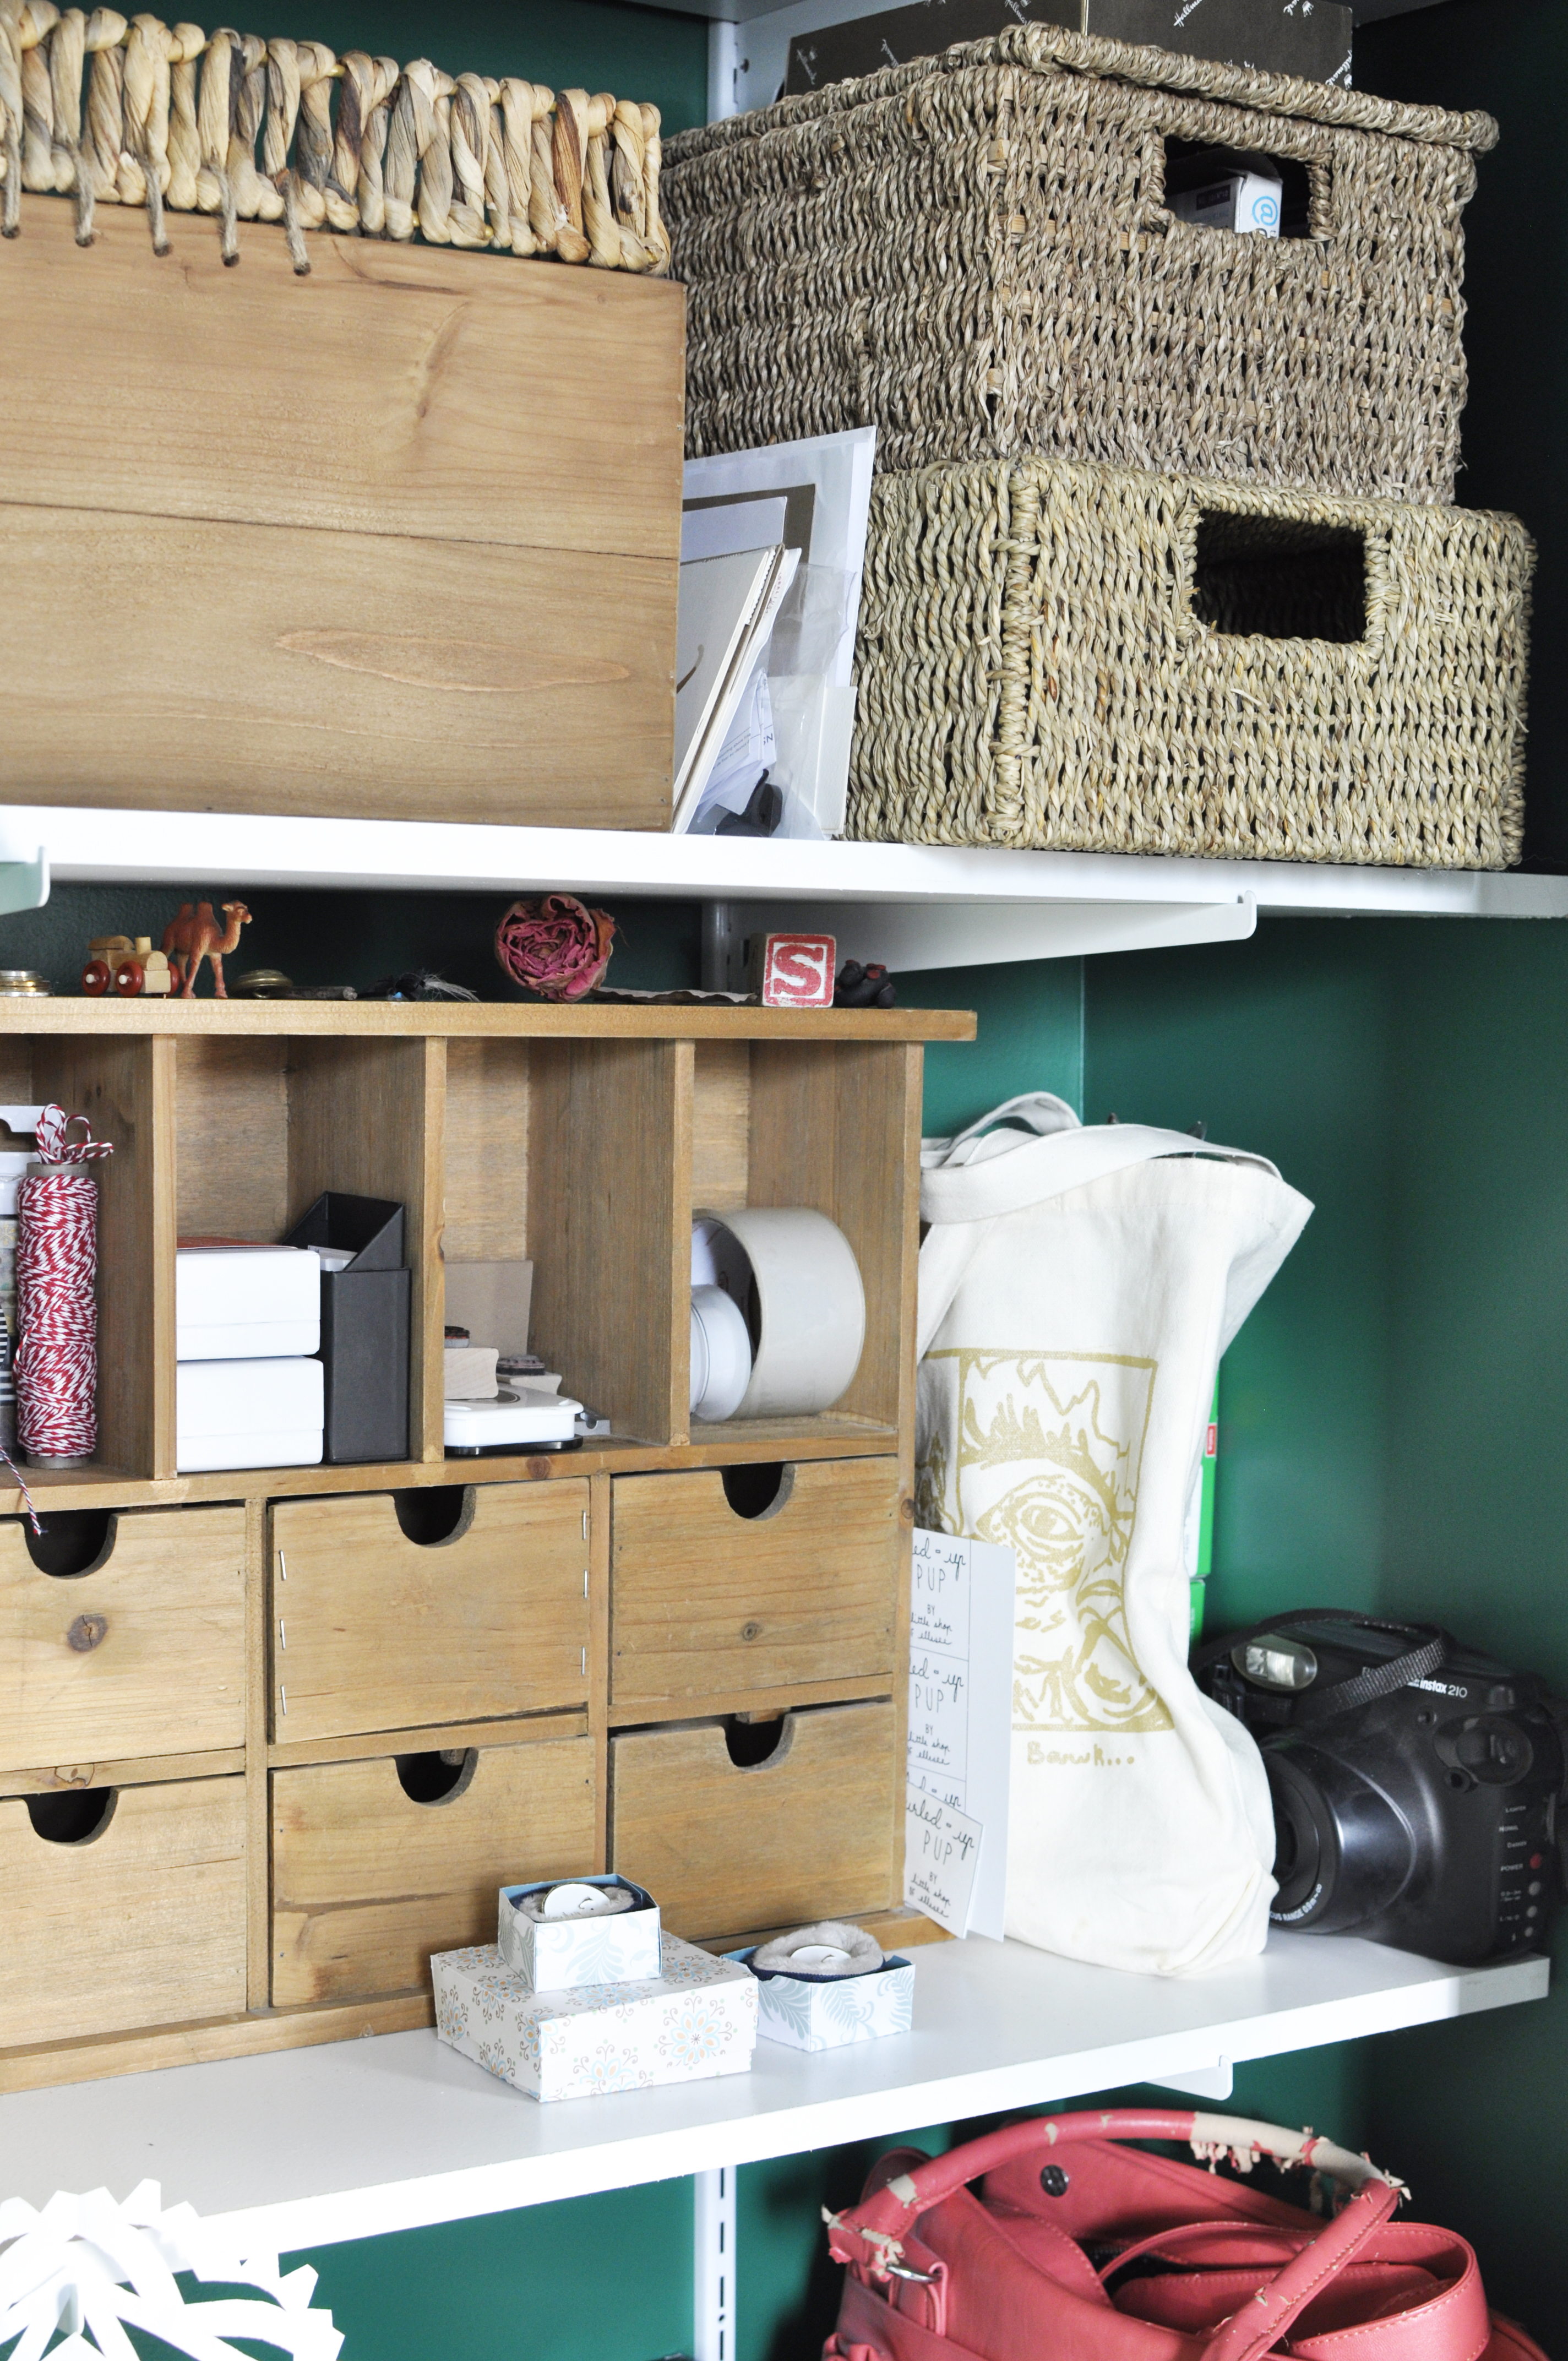
The office closet has been a source of frustration for many years, so I decided to tackle a makeover back in January to make it exactly what we needed. The closet originally had the builder-grade wire rack at the top where you could hang clothes and store some items on a shelf, and we added a couple of shelves to make the space more usable for storage.

As the shop has evolved and required more space for storage, the closet hasn't been able to keep up, and so everything crept out into our working space. It became really hard to work in the office because it was starting to feel cramped. I won't get into how much stuff was actually shoved into the closet, but I was shocked after clearing it all out.

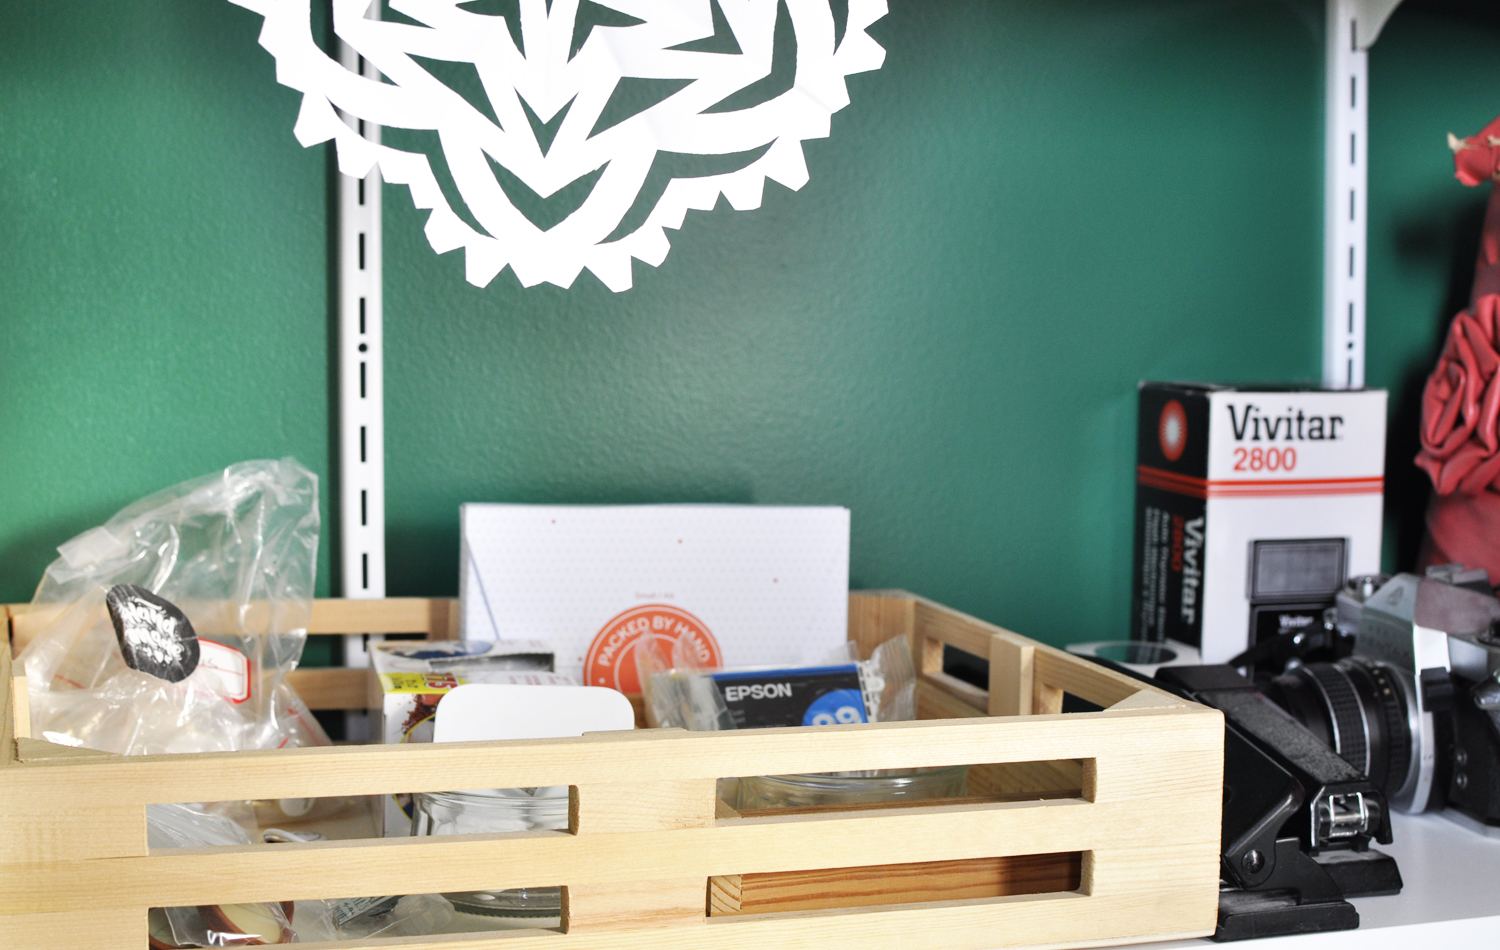
After the items were cleared out, the shelves removed from the wall, the holes patched, and the walls prepared for painting, I got to work painting the entire closet (including the ceiling) a lovely jewel-toned green -- it's the same colour as the footstool in our living room, and I am absolutely in love with it! 

We decided to use the white shelves that we had previously put into the closet, and bought a few more to maximize the storage. When we got the shelves home, we noticed that the ones we already had were a bit shorter, and thought that we must have had them cut to fit the space (we just didn't remember). Luckily, a friend of ours was able to help us out, and trimmed a few inches off of each shelf for us so that they would fit perfectly.

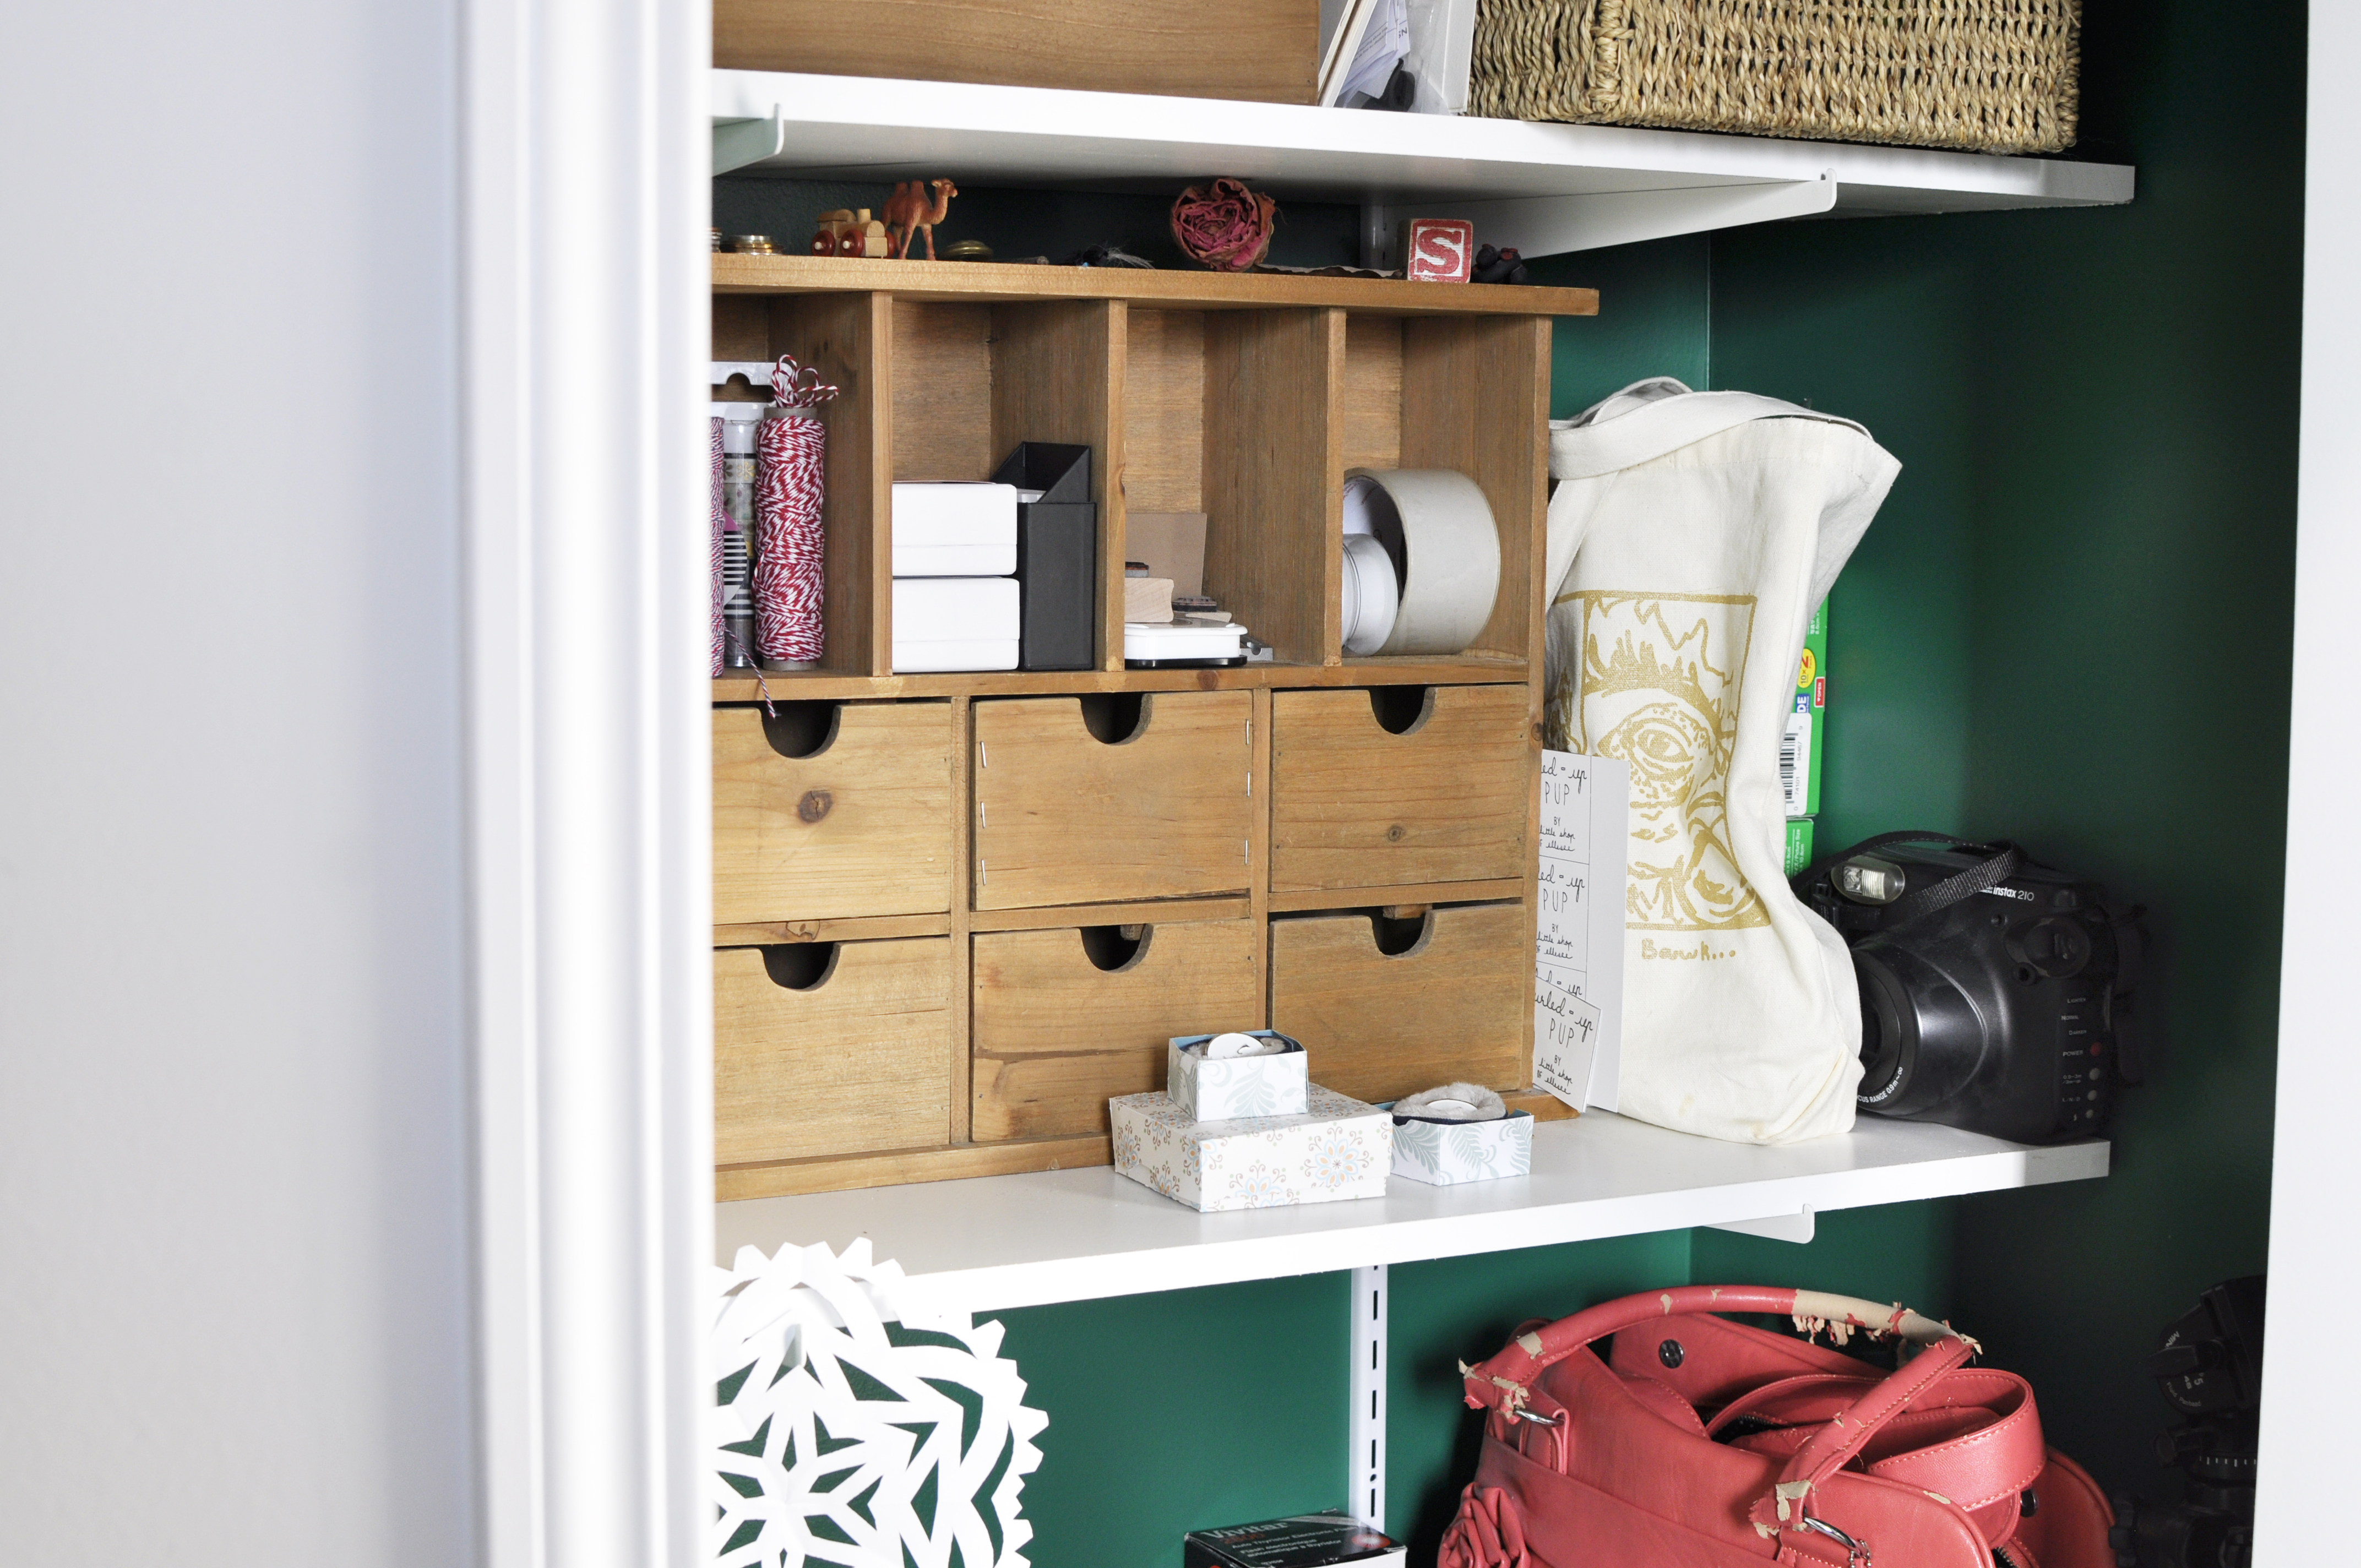
Once everything was hung up, I got to work going through all of the stuff that had been in the closet, and organizing the space (which is currently one of my favourite things to do!). I love the feeling that I get when I open up the closet. It's a secret pop of colour when you open the door, and it's nice to have everything for the shop in one place -- no longer scattered about the room. I am inspired for the next project!
0

Weekend DIY: Front Entry Makeover

January 16, 2022

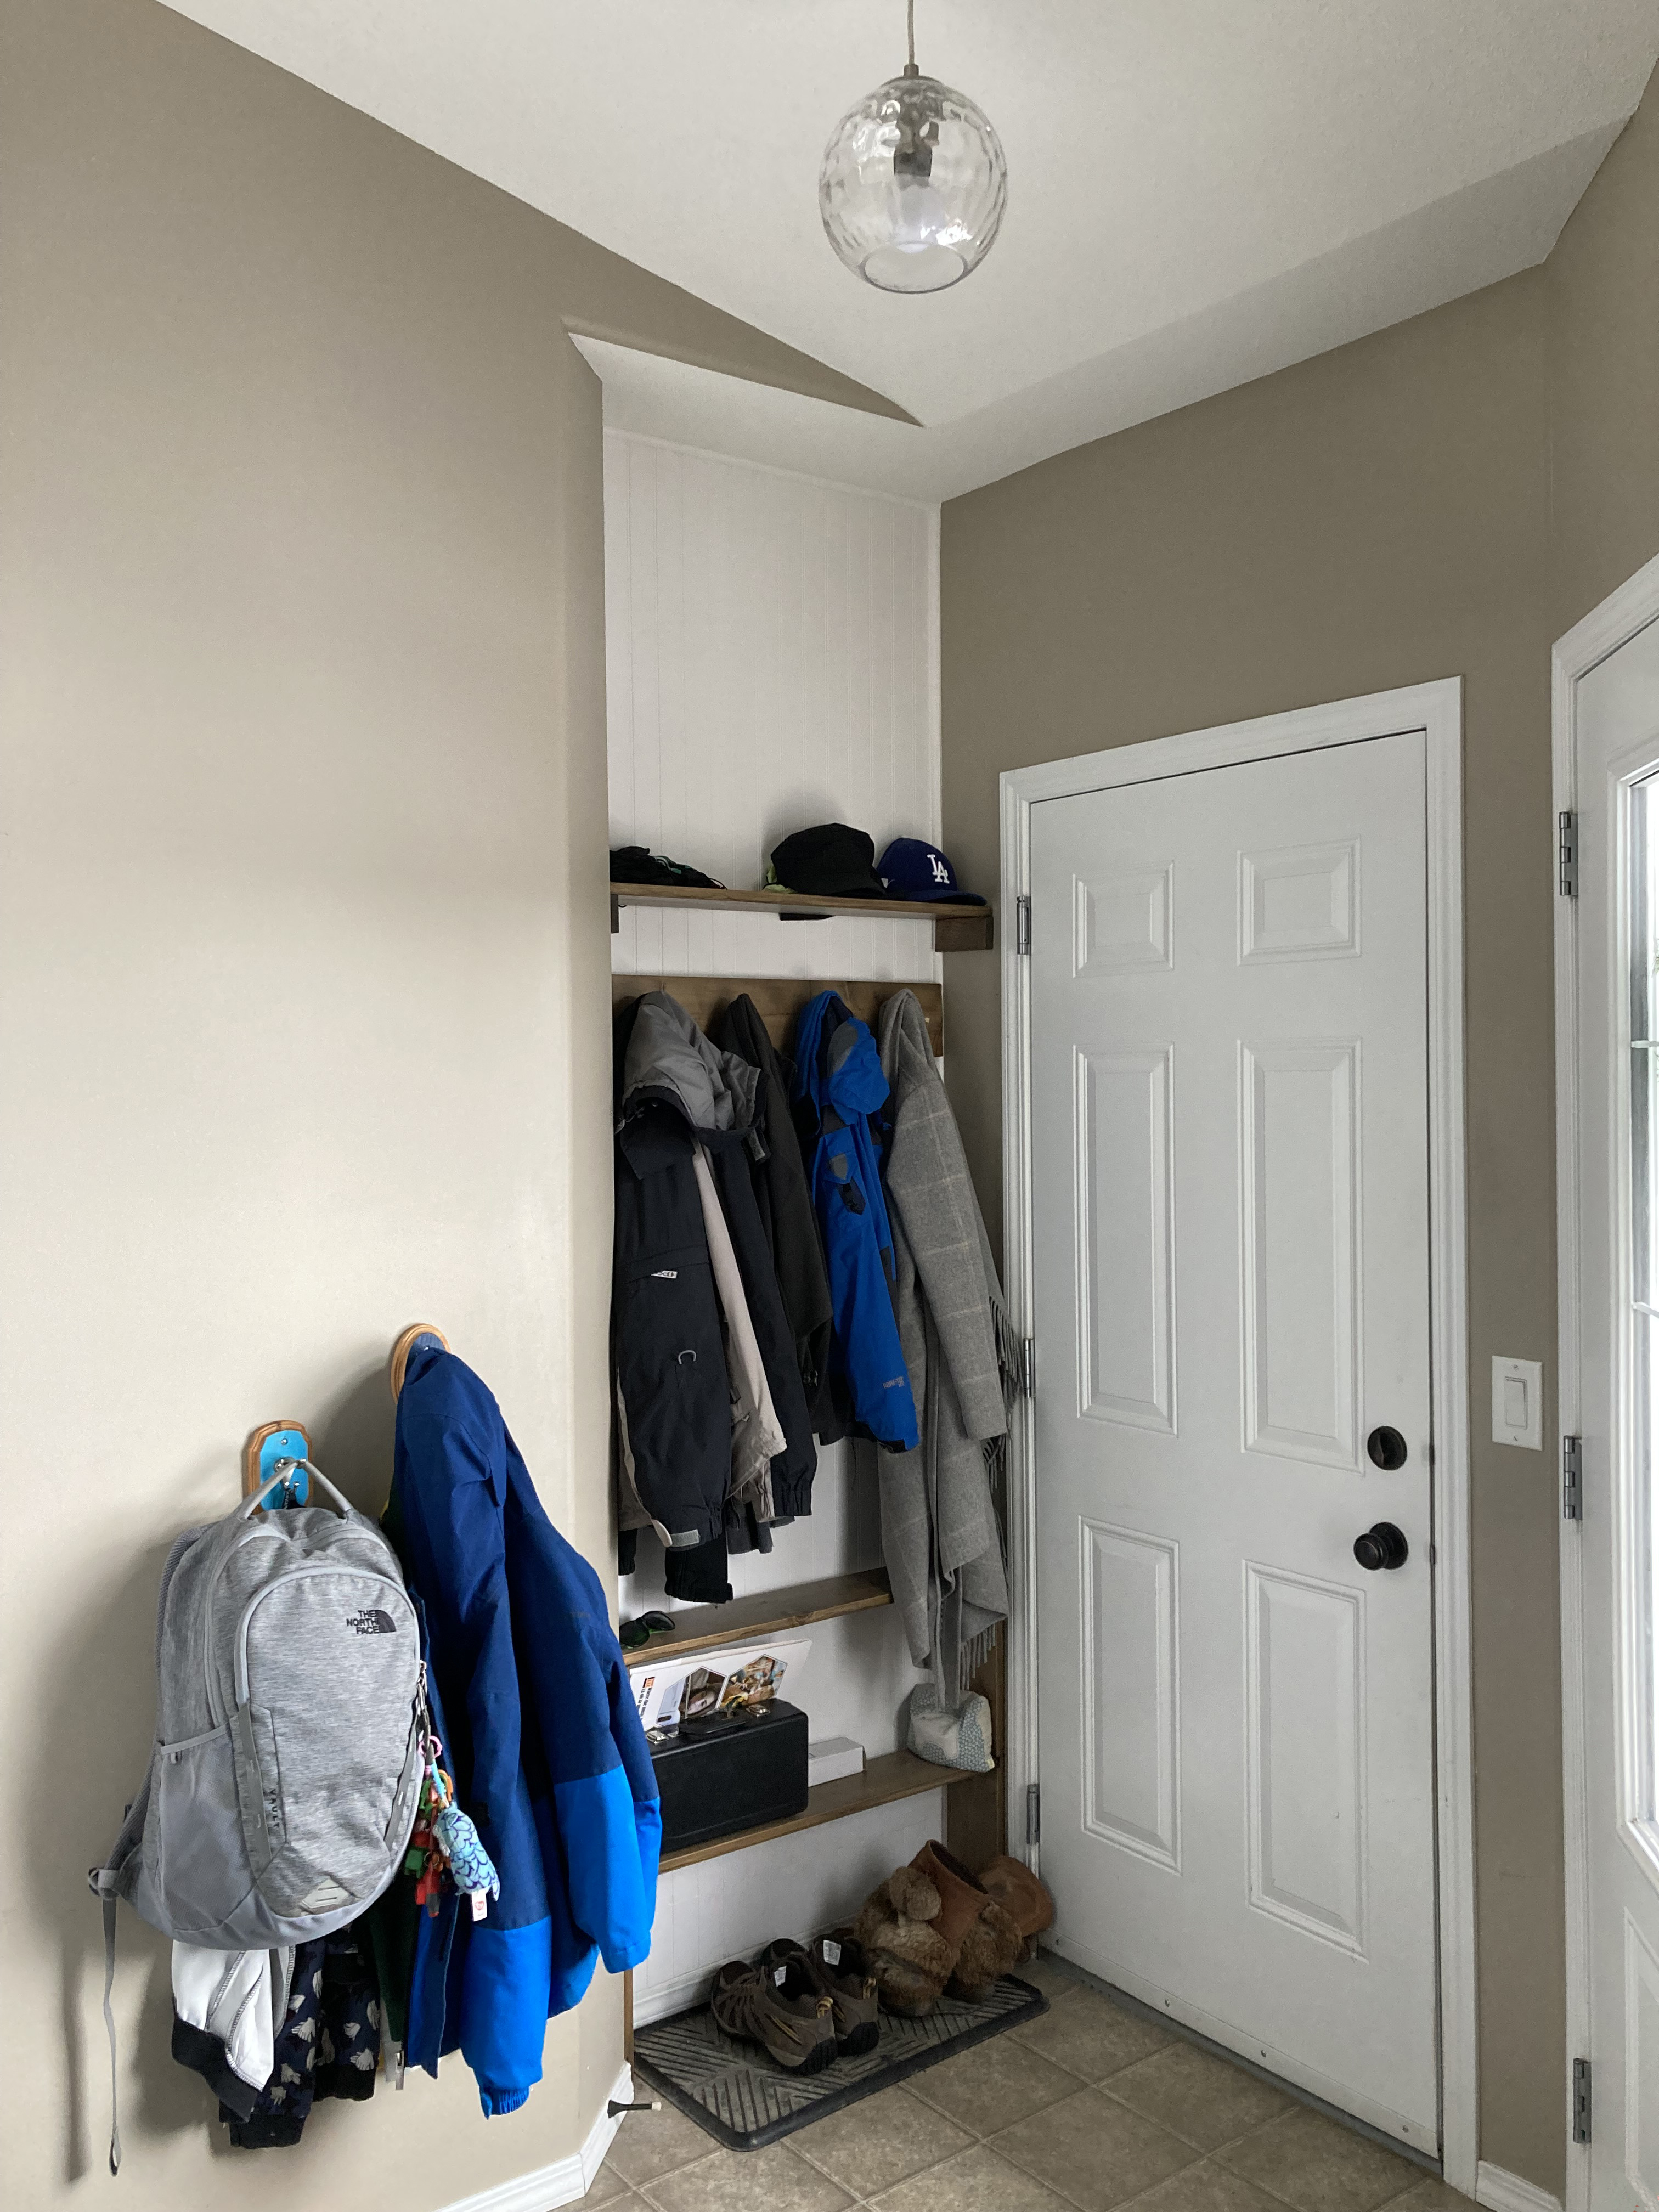
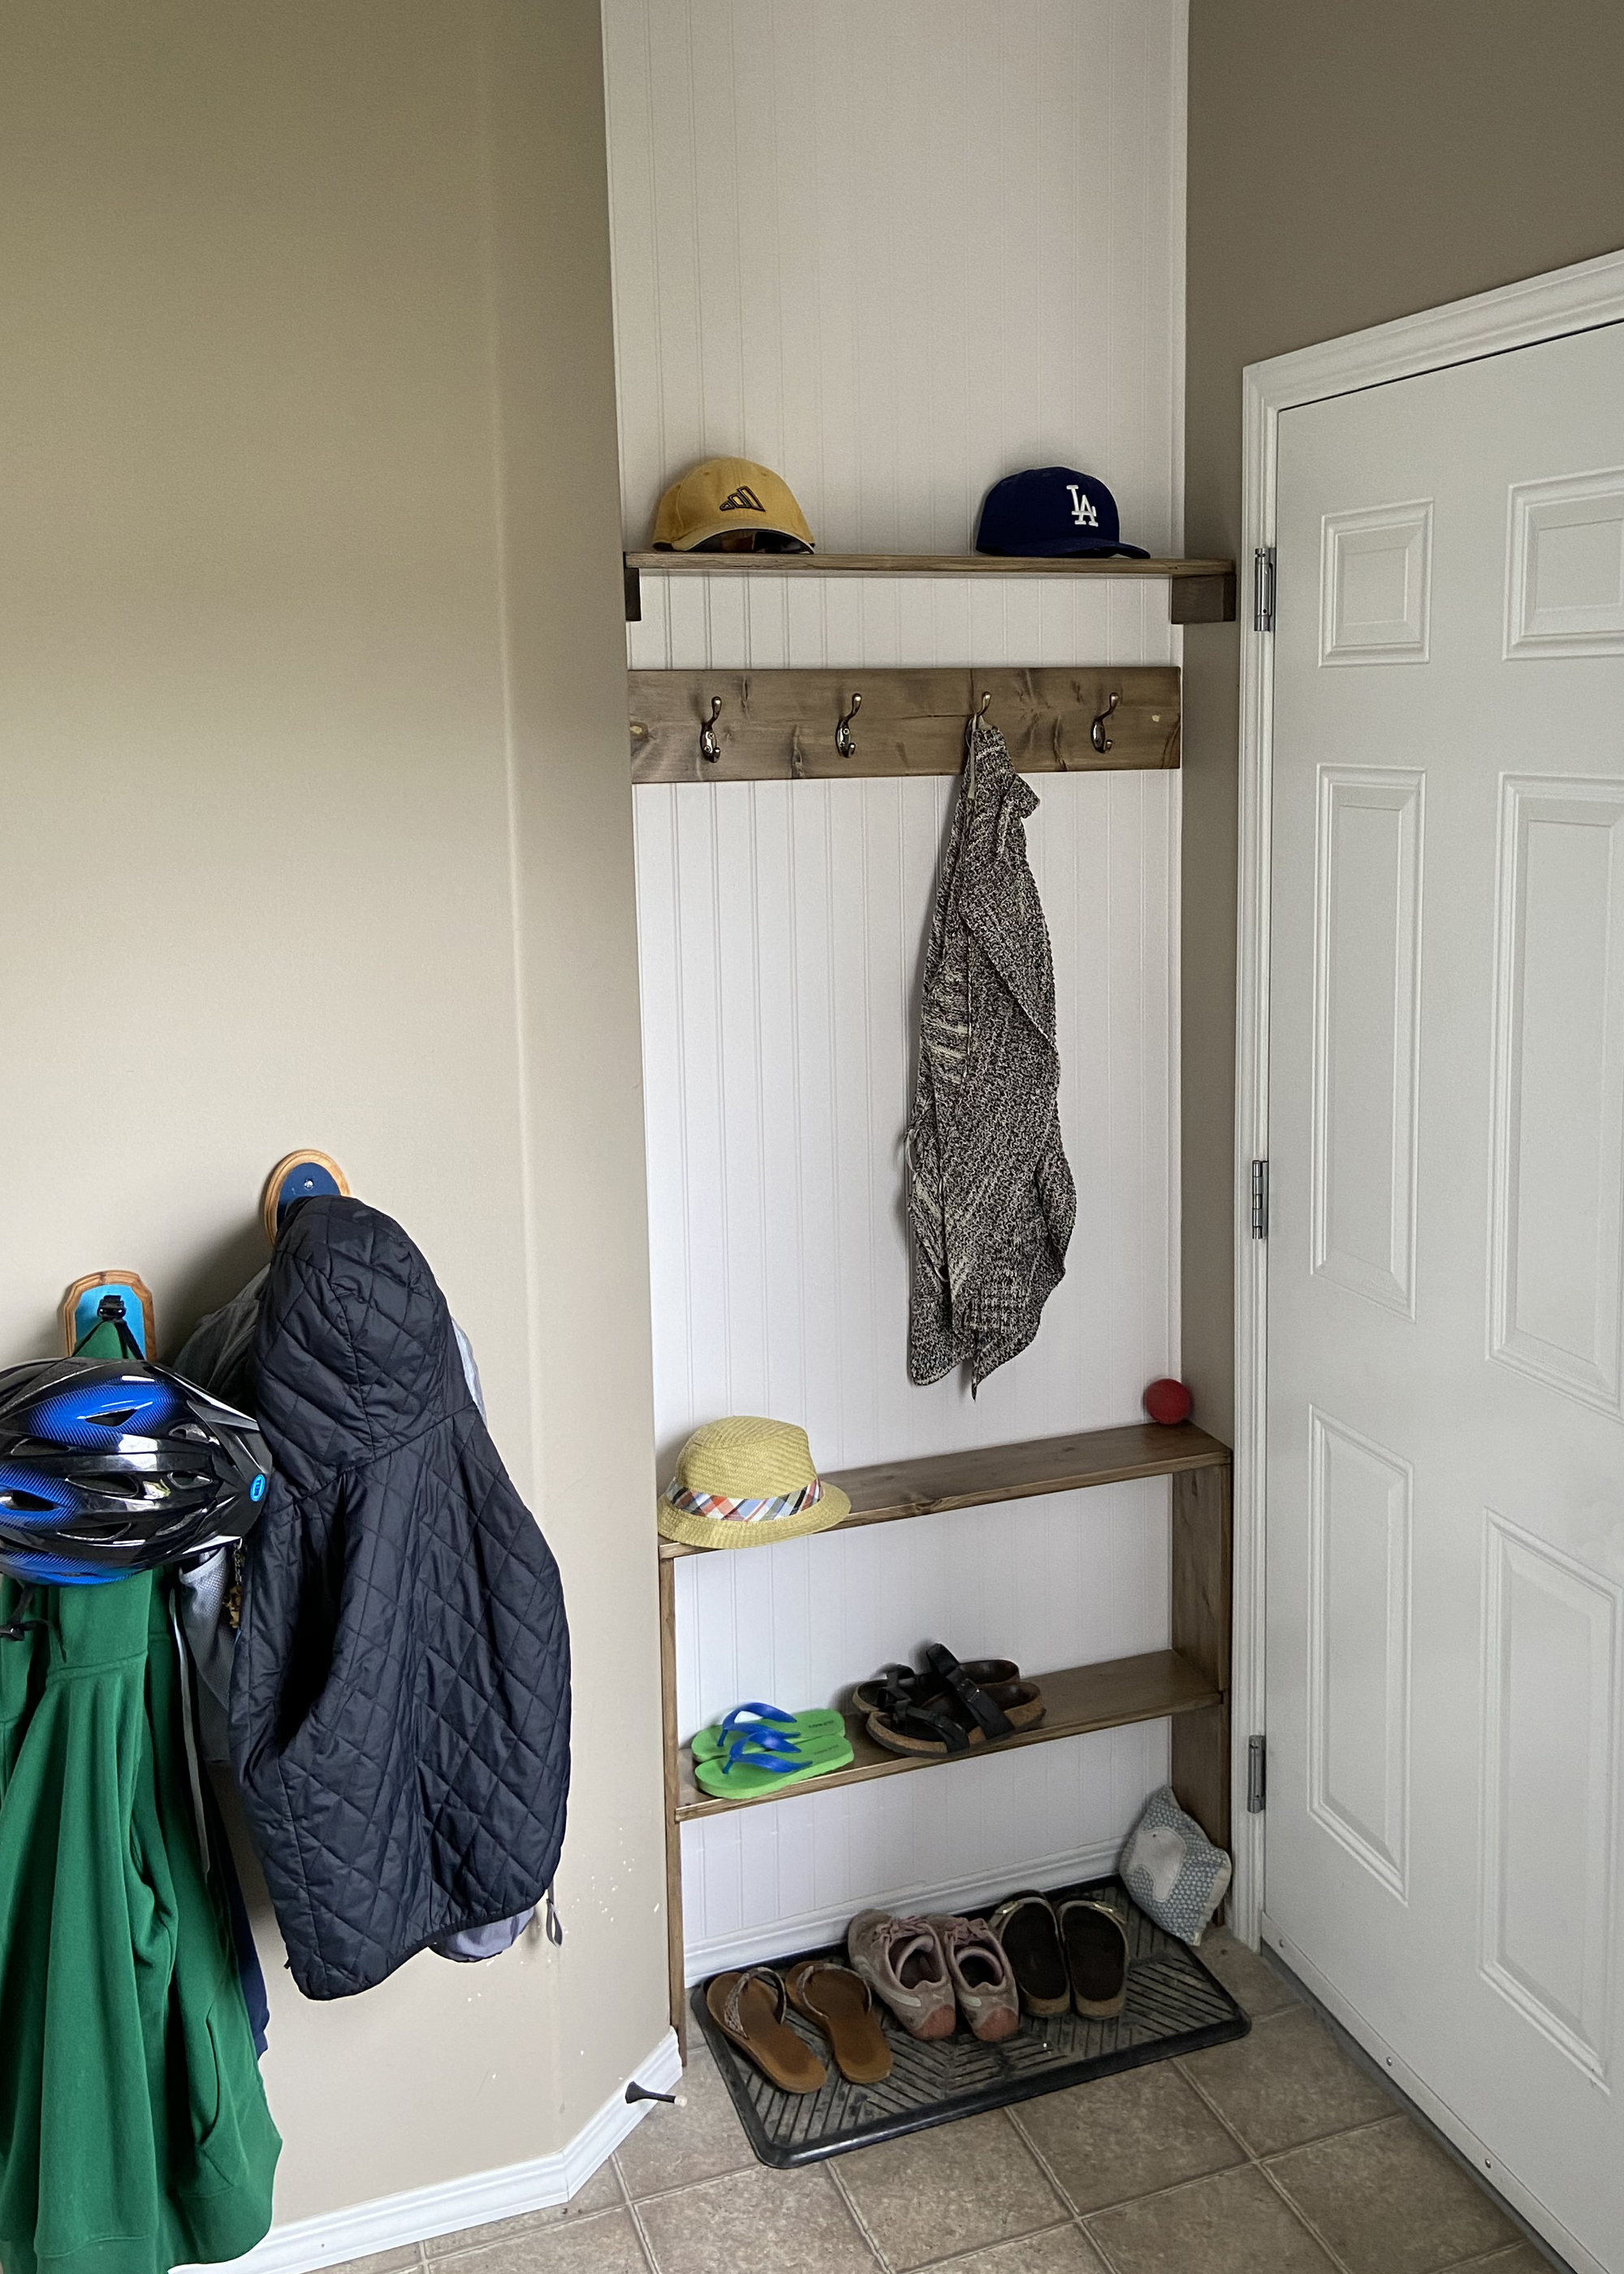
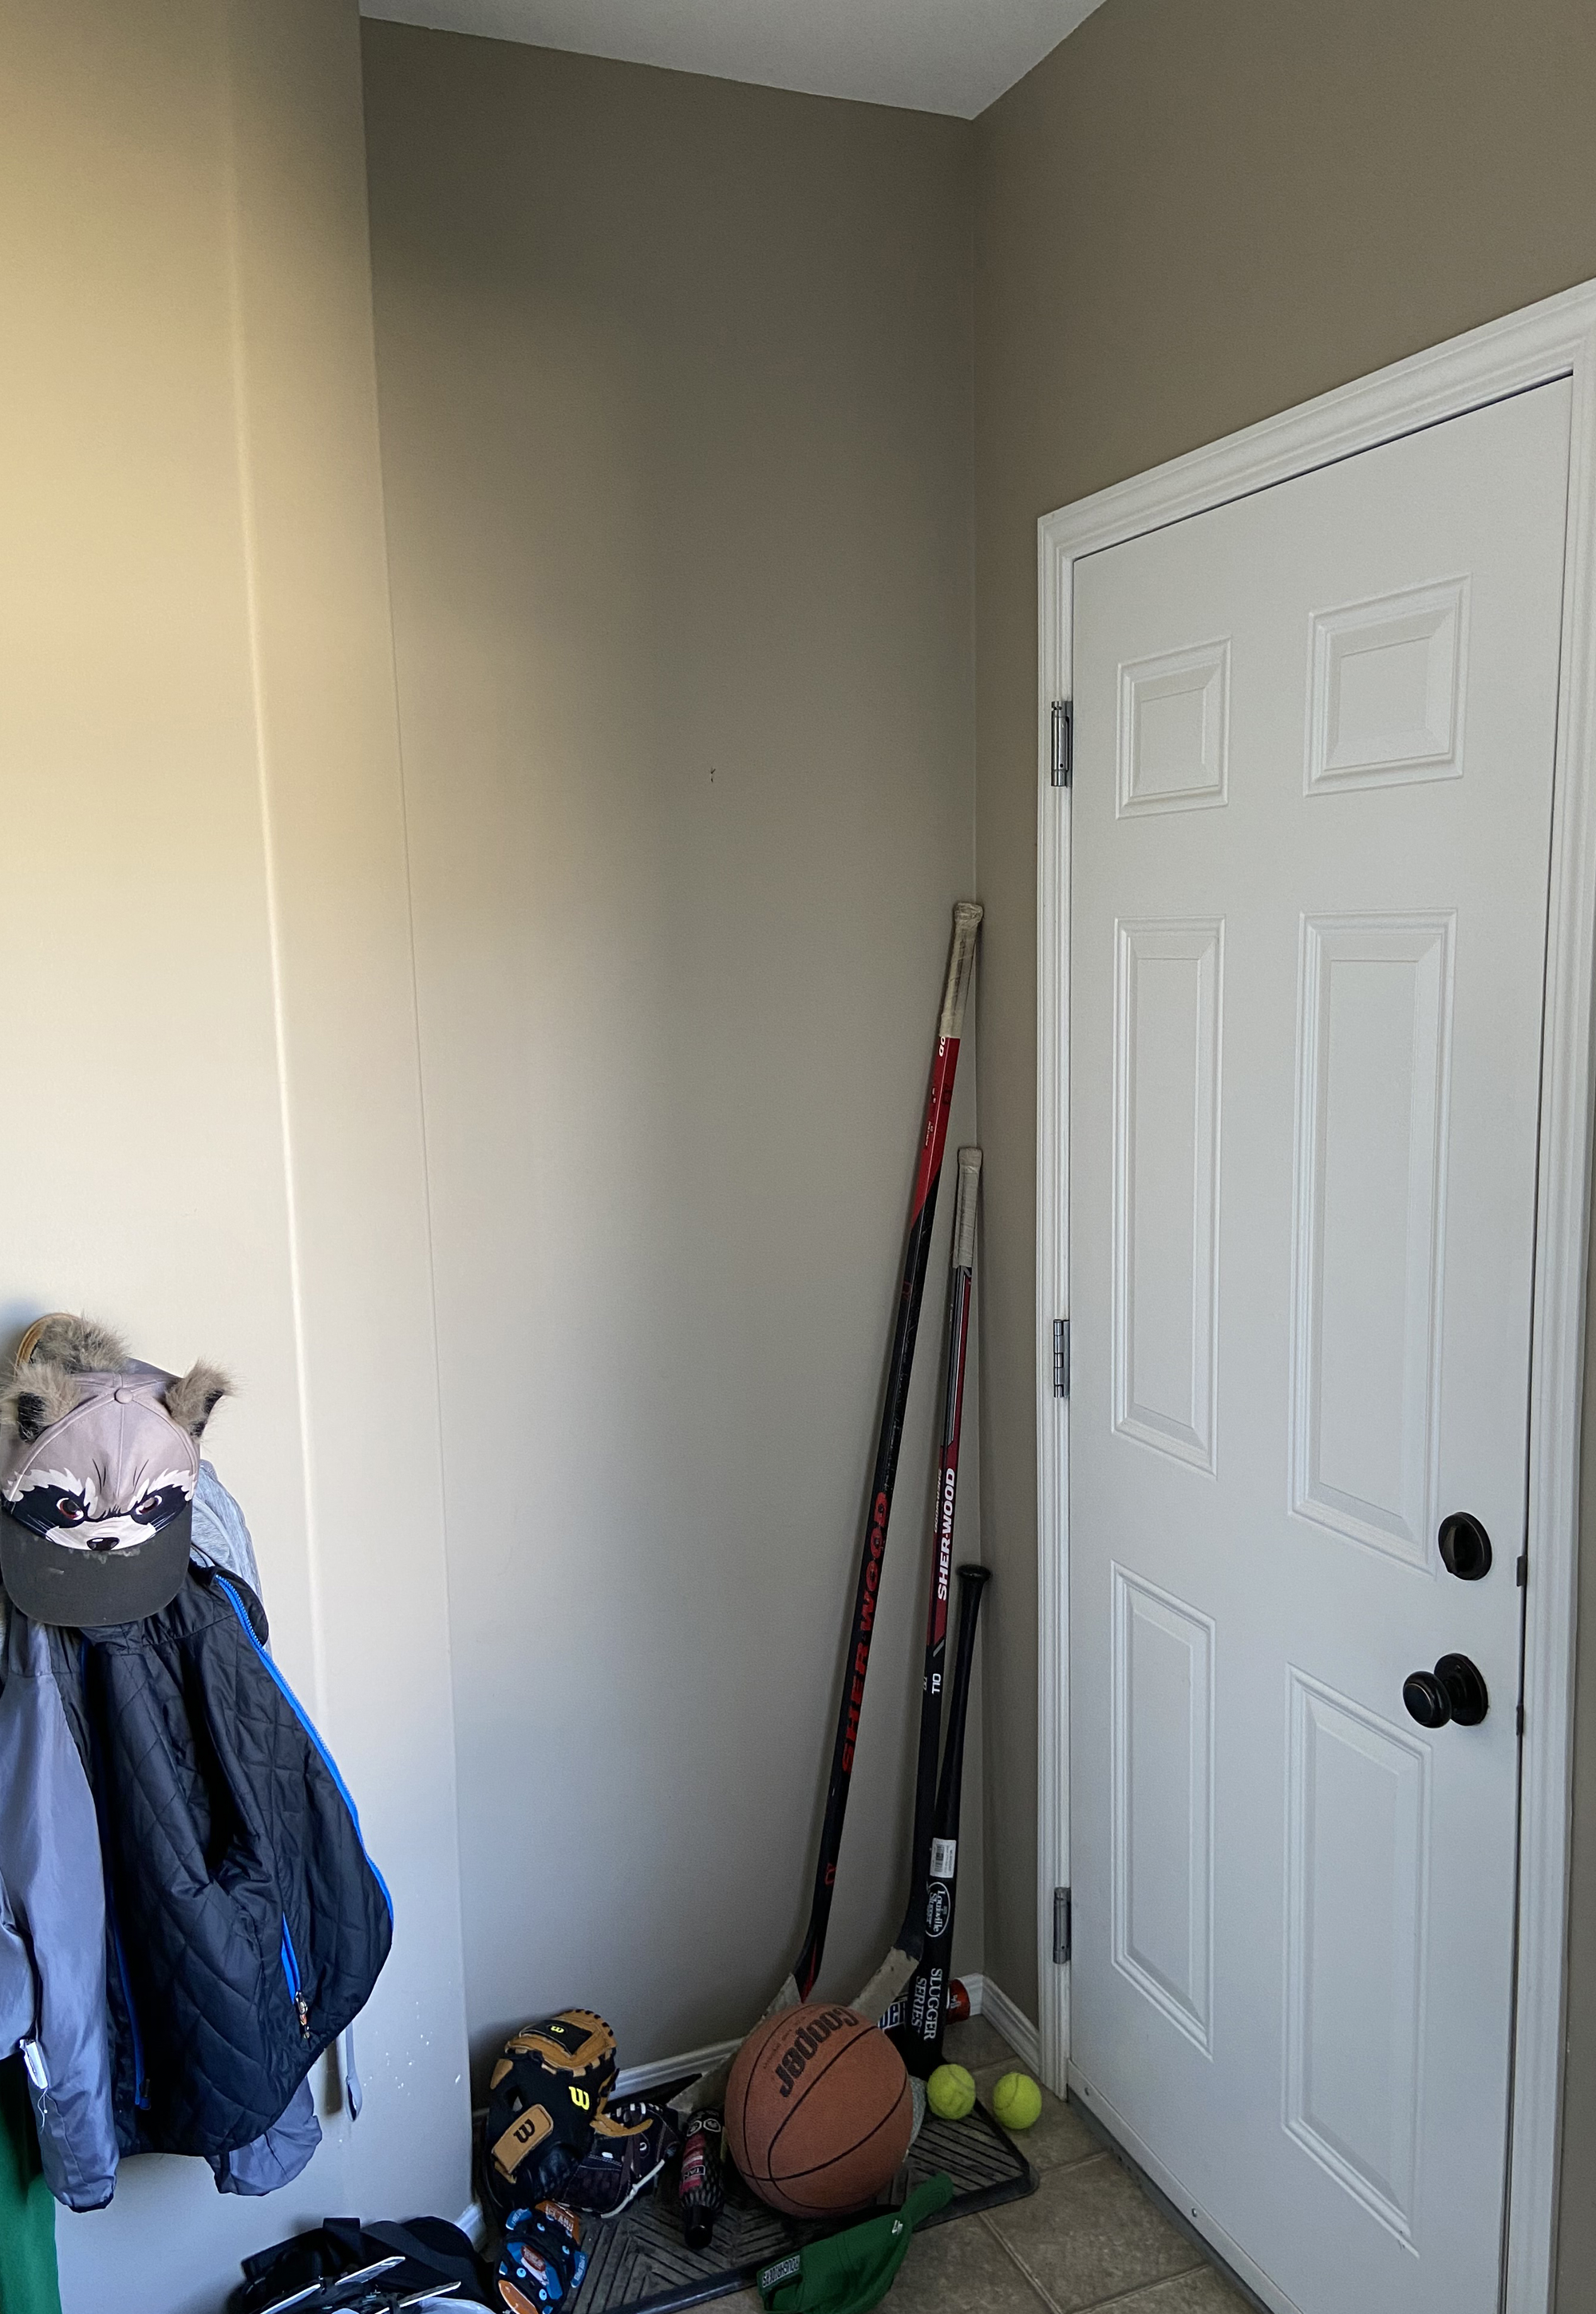
When you live in a small house that is trying hard to use up every inch of space, sometimes you end up with strange little places (I never said they did a good job designing the use of every inch of space). For years we had this weird, useless niche in our front entryway that I could never figure out how to decorate or utilise. Then it dawned on me that we can use it as another place for hanging our coats and storing hats, shoes, etc.


We purchased a panel of beadboard that we used for the length of the niche, put 1/4" round trimming where it joined with the other walls and the ceiling, sealed it up, and applied a couple of coats of paint. After the wall was finished, we set to work making the shelving units and the coat hooks. The niche is not very deep, so the shelves could be no wider than 6 inches. It makes it a bit difficult for storing larger items, but hats and other smaller things can still fit.


We eventually found a glass pendant light that we really liked and added it to the space. After having lived with the whole thing for almost 2 years, I can't remember what it was like before we put it into place. It's honestly weird seeing the photo of the space before we added the beadboard and shelves, but that just shows how much we needed a space like what we created. 

It's made it easier to use our front closet as more of a storage space, and has helped make up for a lack of storage overall in the house. Looking at what it does to the space and how it has added to the house also makes me so happy and love our home even more, which is the ultimate goal when doing small renovations.

0

DIY: Responsibility Chart

September 10, 2018

Our son is entering the age where it's time to step-up the responsibilities. To help him to remember what he needs to do, I decided to make a Responsibility Chart to give him (and us) a visual of what needs to be done, and what tasks have already been completed. It also helps that we have it hanging in our kitchen area so that we can see how his progress is going.

It seems to be the best approach for his personality (he's going to be a list maker), and has really helped us out so that we don't have to remember everything that we have asked him to do, and then struggle to get him to finish it all.

Instead he gets a little hit of dopamine as he moves a magnet over to the "DONE" side of the magnet board (kind of like when you finally get to cross off one of those things on your to-do list), and gets incentive to complete the rest of the tasks for that day. 

Not all of them need to be done in a single day (and we'll add more as we think of them, or he gets older and takes on more responsibilities), but when almost all of them are on the "TO DO" side, he will do everything in his power to add on the ones that don't even need to be done.

What you will need:
Black Fine-Tip Sharpie
White Paint Pen (or white acrylic paint and thin paint brush)
A Ruler
Small Round Magnets
1" Round Wooden Disks
Hot Glue Gun
Glue Sticks
Metal Sign

Measure the middle of your sign and draw a line down the middle of the sign with your paint pen, using a ruler to keep it straight. On one side of the line, paint the words "TO DO" and on the other side, paint the word "DONE". Your sign is done!

To create the tasks and expectations, write on the wooden disks with a black fine-tip sharpie. If you mess up on one side, flip it over to the other side and try again. Use hot glue from a glue gun to attach the magnets to the wooden disks and...voila! You've got yourself a responsibility chart!


0

DIY: Little Dragon Wings

June 22, 2018


What you will need:

18 gauge wire
Electrical tape
Ankle or toe pantyhose
Spray on Colour hairspray

I have made these wings several times in the past few years. Two were for Halloween costumes -- a butterfly and Tinkerbell -- and one set was for this little dragon that I created for my first cosplay for the Saskatchewan Entertainment Expo a couple of years ago.


I used the following video from the Martha Stuart show (we won't even talk about how long ago that was on air) and adapted it for a smaller version, including using ankle length pantyhose instead of wasting the ones for the whole leg. I then attached them to a little dinosaur stuffie that belongs to my son from the shop The Wooden Quail.


0

Pokeheart: A Pokemon Inspired Valentine

February 12, 2018

I created these pokeheart valentines for my son to give to his classmates after spotting it randomly on Pinterest one day, and thought I would share with you how I went about making them if you happen to be looking for a last minute Valentine's Day idea.

What you need:
Red construction paper
White construction paper
Black construction paper
Glue stick
Scissors
Hole punch
Paper cutter
Heart stencil

Using the heart stencil (I used a cookie cutter), I traced out the heart shape on both the red and white construction papers. By measuring the red heart on top of the white heart, I was able to figure out exactly where I wanted to cut my red heart in half -- all you need is the top part of the red heart. 

I then glued the top of the red heart onto the white heart (which I kept whole for ease of gluing), using the glue stick, and then trimmed down any part of the red heart that could be seen sticking out from beneath the red part that had just been glued on.

The black construction paper was cut into a 1/4 inch strip (roughly 1 centimeter), and then measured for the length that would be needed to cover the middle of the heart where the white and red paper joined. I made sure it was a bit longer than the edges of the heart, and then just used my scissors to trim it up to the edge once it was glued on.

The white circle for the middle piece was hole-punched out of a piece of the white construction paper, attached to a small square of black construction paper with the glue stick, and then the square of paper was trimmed down into a circle slightly larger than the white circle in order to create an edge around it. Glue it on to the middle of the black strip and you've got yourself a pokeball in the shape of a heart!


0

Road Trip: The Fabric Paper Doll

July 14, 2014
When I was a little girl, my family went on a very long road trip across to the West Coast. To help us pass the time my Mom made these cute little fabric paper dolls for my sister and I to play with in the car. There were so many little outfit options and bows or hats to put on the doll. I don't remember what we did when we played with them, but I have cherished this doll my whole life and she was perfect for keeping me occupied on long car rides.


You can purchase or make your own doll for your next road trip:

Fabric Doll Pattern from Baby Dear on Etsy
Fabric Dolls and Clothing from Curlytoe Creations on Etsy
Fabric Paper Doll Pattern from Butterick - free download
Felt Paper Doll Tutorial from Girl, Meets Wolf


2

DIY: Flag Sign

June 30, 2014
I made a little flag for my shop sign for Flock & Gather using this tutorial on how to draw a flag. It was super simple to follow -- just make sure you sketch it out in pencil first. The only tricky part was figuring out how to split up the word shop so that the flag still looked like it was flowing in the wind.


Once I had finished drawing the sign I glued it to a shishkebab skewer by wrapping the paper around the skewer and holding it in place with mini-clothes pins while the glue dried. It's as easy as that!


0

The Imperfections of Homemade Bread

March 26, 2014
It was my dream that when I purchased a stand mixer that I would make some homemade bread. The day that I got my mixer I set to work making this fantastic recipe for homemade bread. It is very yummy bread, and, having never made bread before, it was quite easy to make.


I love the imperfections of homemade bread: the not so slight variations in colour; the bumps along the surface; the dips and lumps from the rising and cooking process. They make it that much more delicious :)


0

DIY Project: Vintage Book and Mod Podge Side Tables

March 14, 2014
I was never truly happy with the original re-do of our living room side tables. I always thought they looked like something from a little girl's bedroom, so I decided to re-do the re-do with some Mod Podge and an old German version of Heidi -- I have used this book for other projects.


Because the table has a nice beveled edge around it, I didn't want to cover that part of the table with paper. So I let the pages go over the edge, but I didn't glue them down with the Mod Podge. Once the paper had dried a bit, I trimmed the random pieces of paper sticking off of the sides with a sharp X-Acto knife, and then sealed the edges with more Mod Podge. I was a little worried because there was some bubbling of the paper, but it settled quite nicely once it was dry.

After the Mod Podge had dried, I took the tables out into the garage and sprayed them with a sealer to protect them from any spills that will happen -- I say "will" because I know it's going to happen.

I am so much happier with how this project turned out, and think it is a lot more classy for our living room. I really like how it looks like the pages are just scattered on the tables and I love that I can still see some of the drawings -- I did that on purpose :)


Have a Happy Friday!


0

Putting It All Together: Our Mom's 60th Birthday Party

February 10, 2014


On each table we had a small vase with a floral arrangement in it. We picked out the flowers at a local floral shop -- which smelled absolutely amazing -- and grabbed some greens and leaves as well. The green flower hiding behind the big white one is actually a carnation that we picked out in celebration of our Mom's birth month.  

Also, as part of the centrepieces, I had my mom pick out a couple of photographs from each decade that she has been alive, and then I had her dictate to me what was happening in each photograph. I typed each little story up and placed them next to the corresponding photos. A lot of people said it sounded exactly like she was talking to them herself.


On the party invitations I requested that guests bring along a favourite desert to share at the party. Along with all of the deserts on the table, we placed a large vase with sticks and pussy-willows where guests could hang a small paper circle that they had written birthday wishes on for our Mom.


These days, it wouldn't be a proper party without a photo booth with some fun props. I got a lot of inspiration for the photo booth decorations from Pinterest, including a tutorial for making the paper fans.


2

DIY: Make Your Own Watercolour Party Invitations

January 06, 2014
We just finished celebrating my Mom's 60th birthday this past weekend. To celebrate we invited friends and family to a party. I made the invitations myself with a little bit of watercolour paint and our lazer printer. I wanted them to be simple and fresh with only a splash of colour. So, of course I found some inspiration on Pinterest and went to town.


I used: 
5x7 card stock paper
Watercolours
Thick paintbrush
Water
Lazer printer

I started off painting the card stock paper with the colour of paint that I decided to go with, and then let it dry. I used a smaller paint brush in the beginning, but it wasn't giving me the effect that I wanted so I grabbed one of my thicker brushes to use instead. After the paper was dry, I popped it in the printer and printed off the information that we wanted the guests to have.

If you made your own wedding invitations, then this should be a snap, otherwise there will be some trial and error with where you want the words placed on the paper. I recommend painting a few extra pieces of paper just in case!


0

Last Minute Gifts: Glitter Star DIY

December 23, 2013


I Used:
Papier Mâché Star
Martha Stewart Multi-Surface High Gloss Acrylic Craft Paint in Purple Yam
Martha Stewart Smoky Quartz Glitter
Martha Stewart Glue Writing Pen

I started off painting the papier mâché star with the purple craft paint. I painted both sides at the same time and then strung it onto a stick that I placed across two containers so that the star could dry evenly.

After it was dry, I made little glue dots with the glue writing pen -- this thing is truly amazing -- and then added the glitter. I did the glue and glitter in sections so that the glue wouldn't dry before I had made dots all over the entire star. This part is a little bit tedious, but I found it really easy with the glue pen. I let the one side dry and then made little polka dots on the other side as well.


0

Last Minute Gift For Teachers: Wooden Ornament DIY

December 18, 2013
Sometimes the weeks before Christmas can be hectic, and before you know it you realise that you forgot to get a gift for your children's teachers. This year I decided to have the Little Boy decorate wooden shapes that we could make into Christmas tree ornaments for his teachers to hang on their trees as a reminder of how awesome my son is :)


We Used:
Wooden Shapes that can be found in any craft store
Buttons
Glitter
Other Fun Findings
Glue
Wire
Wire Cutters
Round Nose Pliers

I had my son paint and decorate the wooden shapes that we picked out at the craft store. Then I shaped the wire into a shape that would allow it to hang on the Christmas tree, and glued it in place -- you can use a glue gun...I have just misplaced mine -- and just like that you have a simple Christmas gift for your children's teachers.


0

DIY: Mini Bunting Banner

November 25, 2013
Do you remember the little bunting banner that I made for my shop for the handmade market? I realised a couple of days before the show that I wasn't going to have my shop name displayed on my table, so I quickly made a mini bunting banner with my shop name on it using items that I found around the house. It's really simple if you want to make one for a birthday cake, or your own shop.


I started off by cutting a 1 3/4" thick strip of paper -- 1 1/2" was too small and 2" was too big -- but you can make it whatever size you like.

I then cut little triangles along the strip -- snipping along by alternating my scissors back-and-forth allowed me to create triangles without a template.

I used my mini hole punch to make two holes for the string to go through each small triangle on the banner, and then wrote each letter of the name of my shop on a different triangle.

I attached the string to two kabob skewers -- remember that I made this quickly with what I had in the house -- and used tape to attach it to the window that I used to display the art prints.


0
Powered by Blogger.