The Little Shop of ElleSee: home decor

Showing posts with label home decor. Show all posts

Weekend DIY: Office Closet Makeover

March 20, 2022


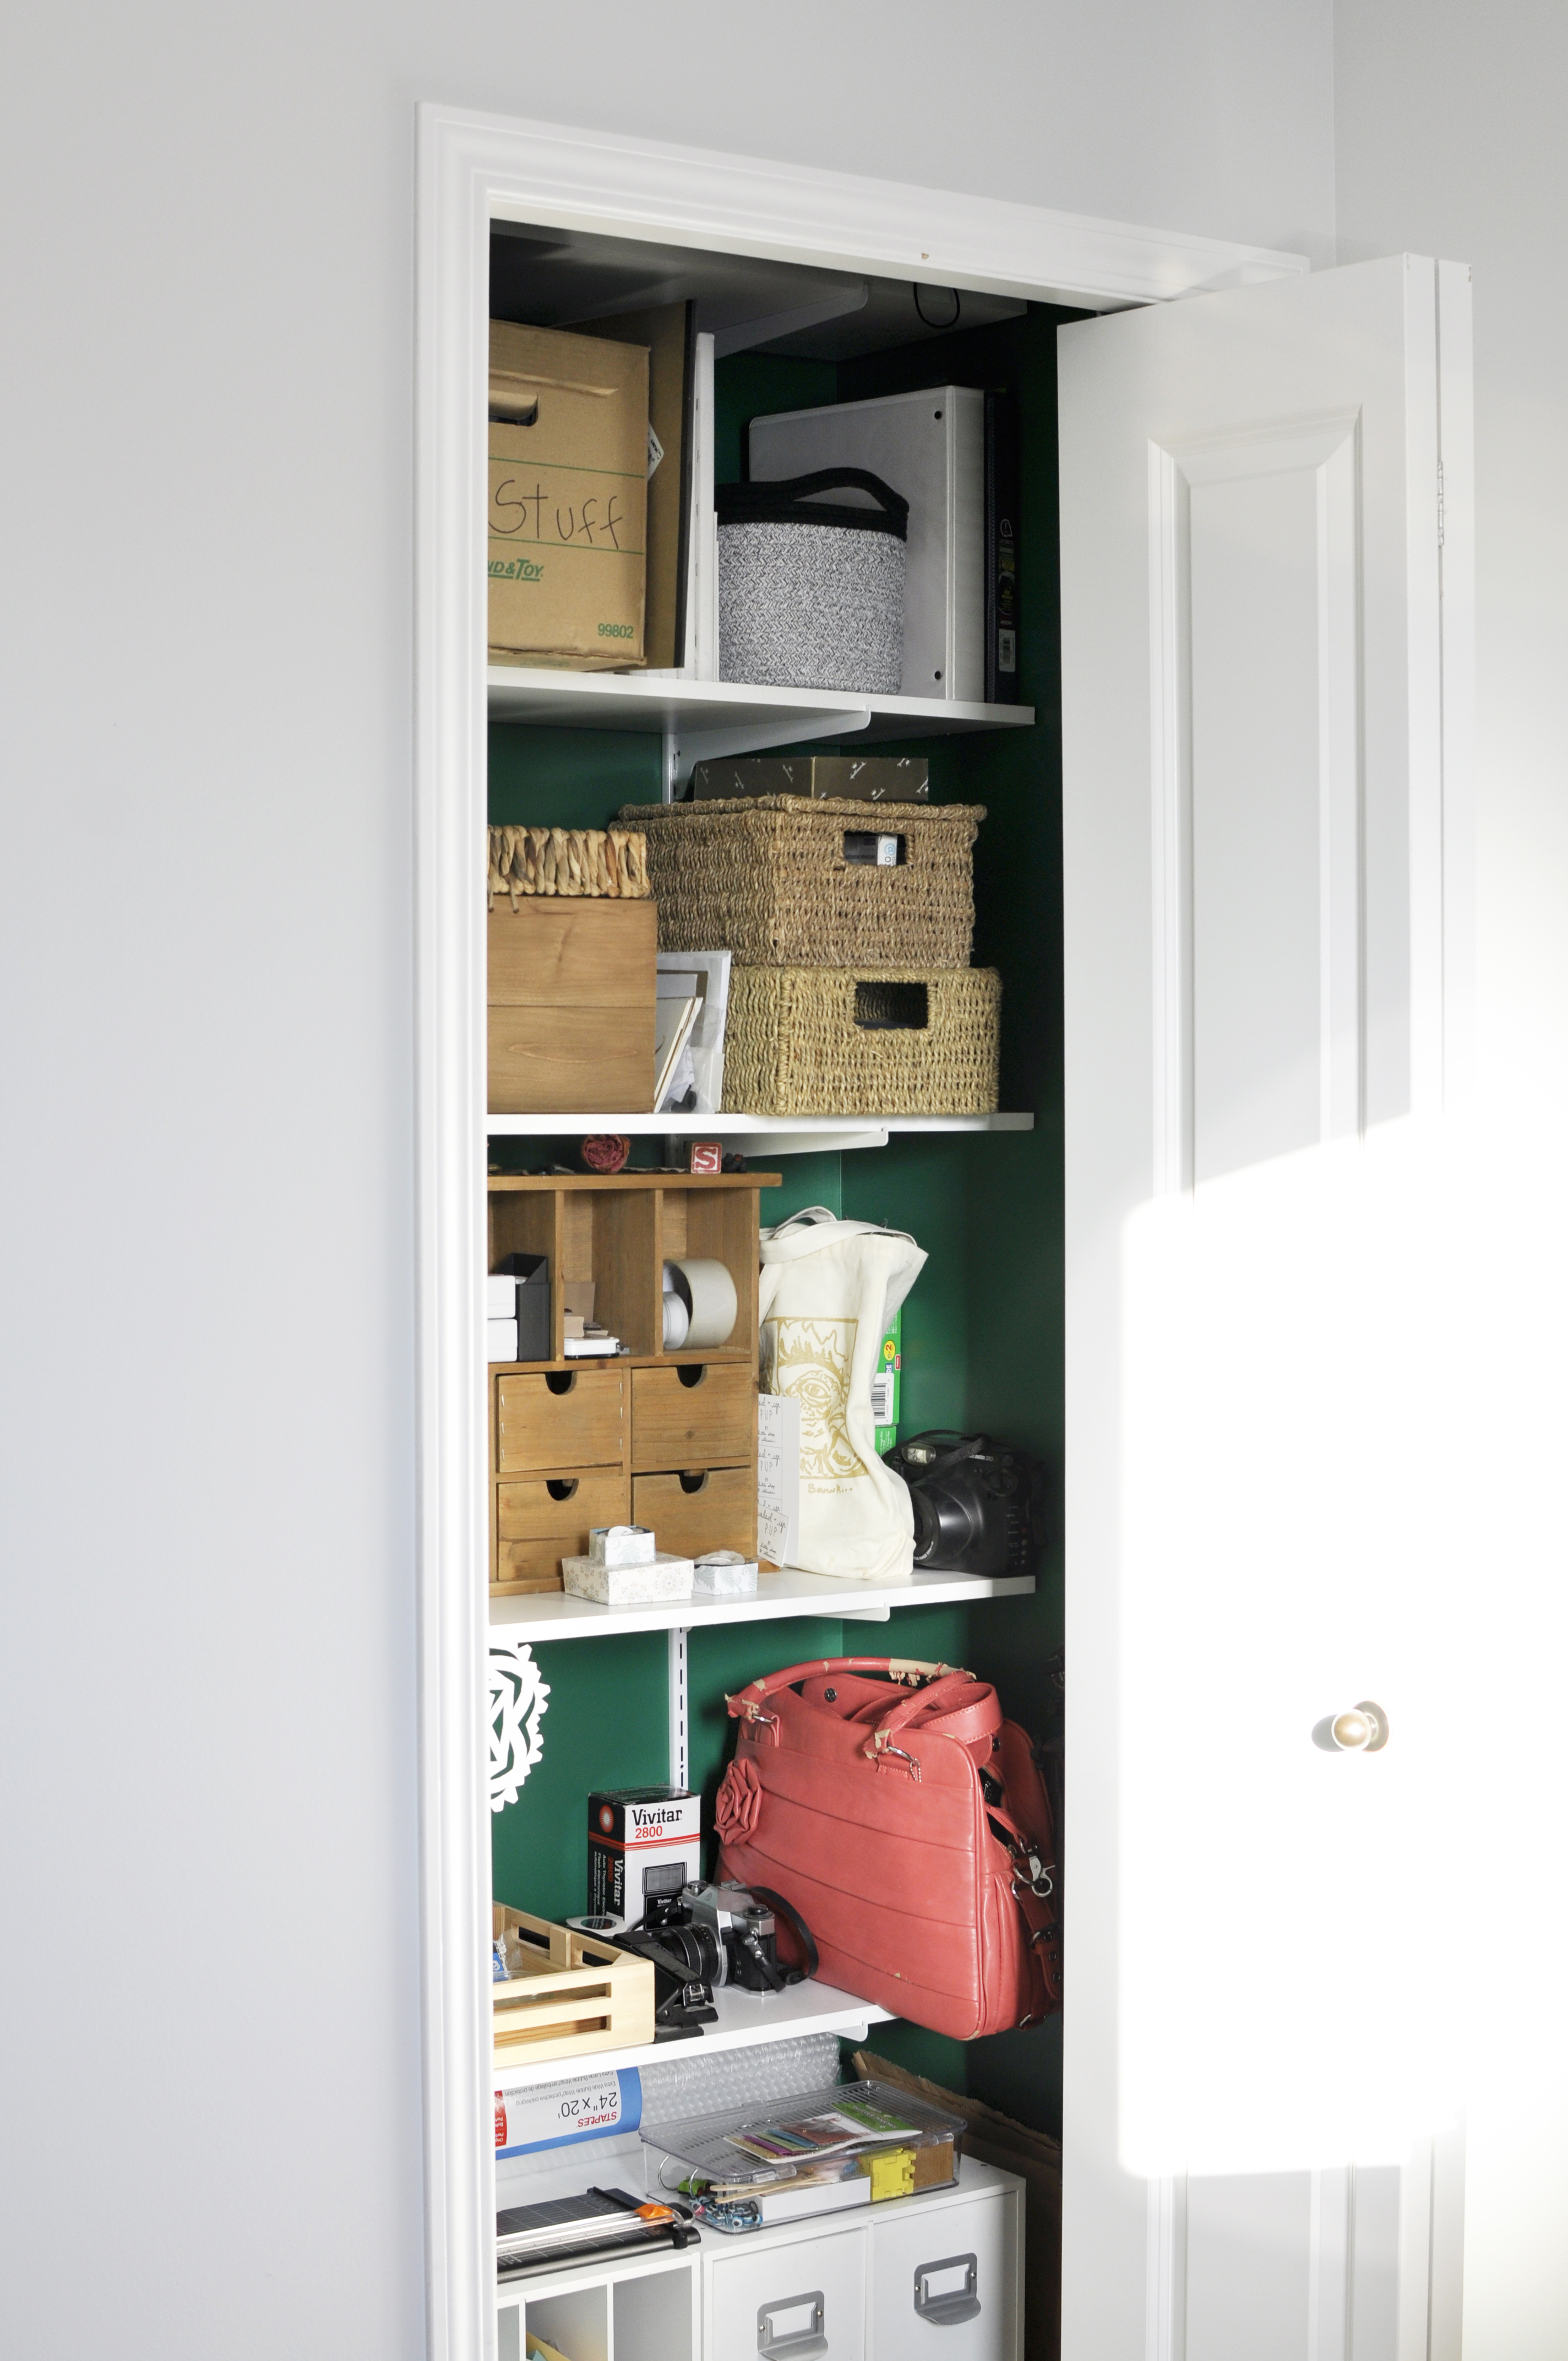
The office closet has been a source of frustration for many years, so I decided to tackle a makeover back in January to make it exactly what we needed. The closet originally had the builder-grade wire rack at the top where you could hang clothes and store some items on a shelf, and we added a couple of shelves to make the space more usable for storage.

As the shop has evolved and required more space for storage, the closet hasn't been able to keep up, and so everything crept out into our working space. It became really hard to work in the office because it was starting to feel cramped. I won't get into how much stuff was actually shoved into the closet, but I was shocked after clearing it all out.

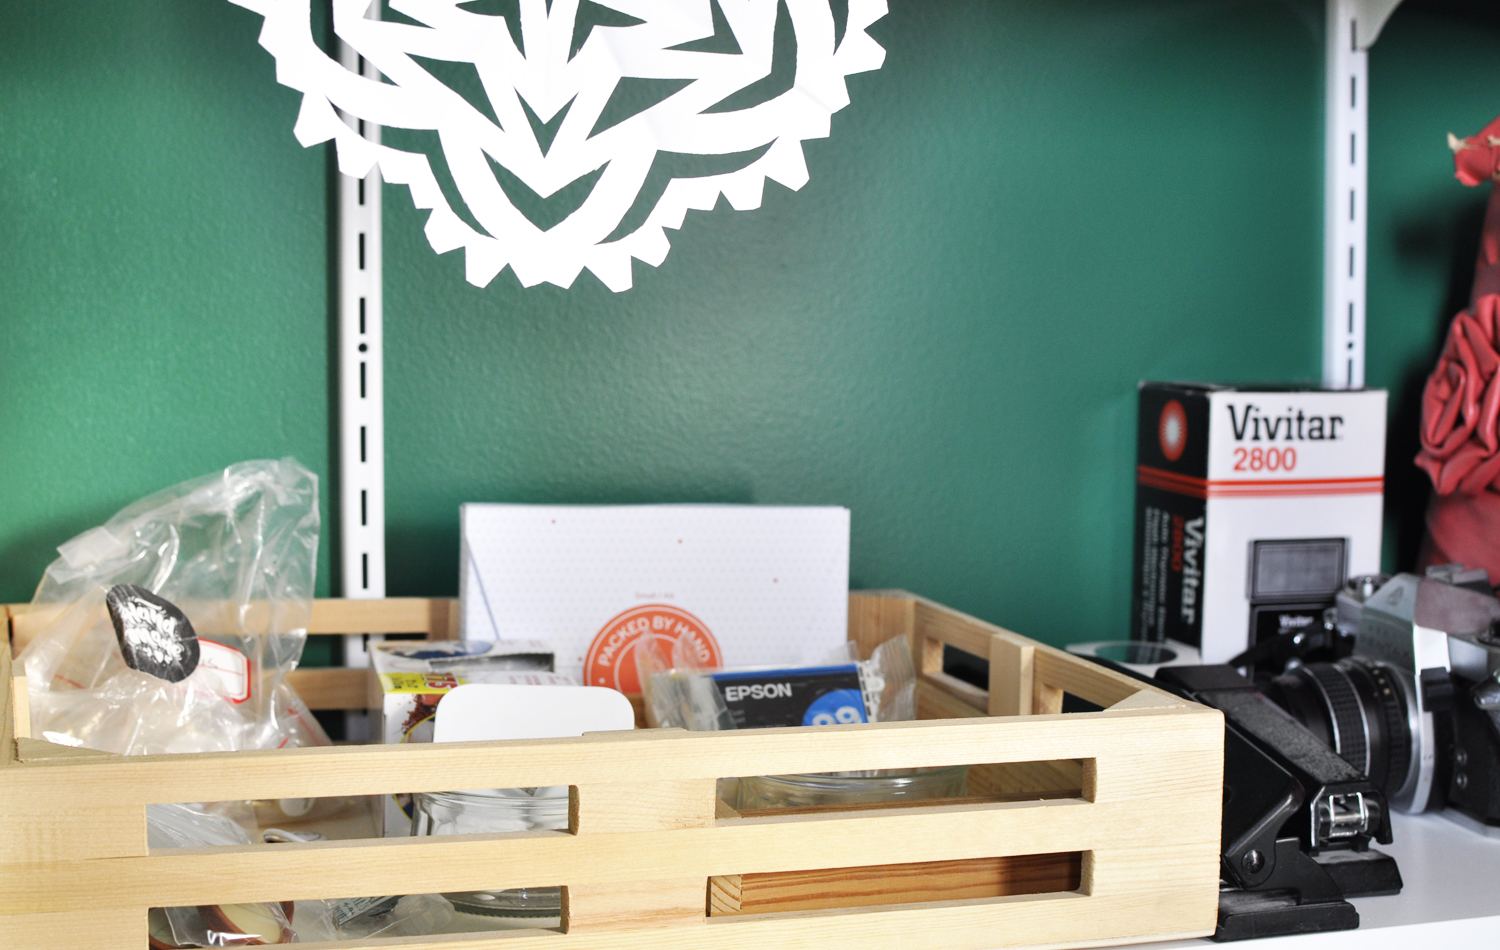
After the items were cleared out, the shelves removed from the wall, the holes patched, and the walls prepared for painting, I got to work painting the entire closet (including the ceiling) a lovely jewel-toned green -- it's the same colour as the footstool in our living room, and I am absolutely in love with it! 

We decided to use the white shelves that we had previously put into the closet, and bought a few more to maximize the storage. When we got the shelves home, we noticed that the ones we already had were a bit shorter, and thought that we must have had them cut to fit the space (we just didn't remember). Luckily, a friend of ours was able to help us out, and trimmed a few inches off of each shelf for us so that they would fit perfectly.

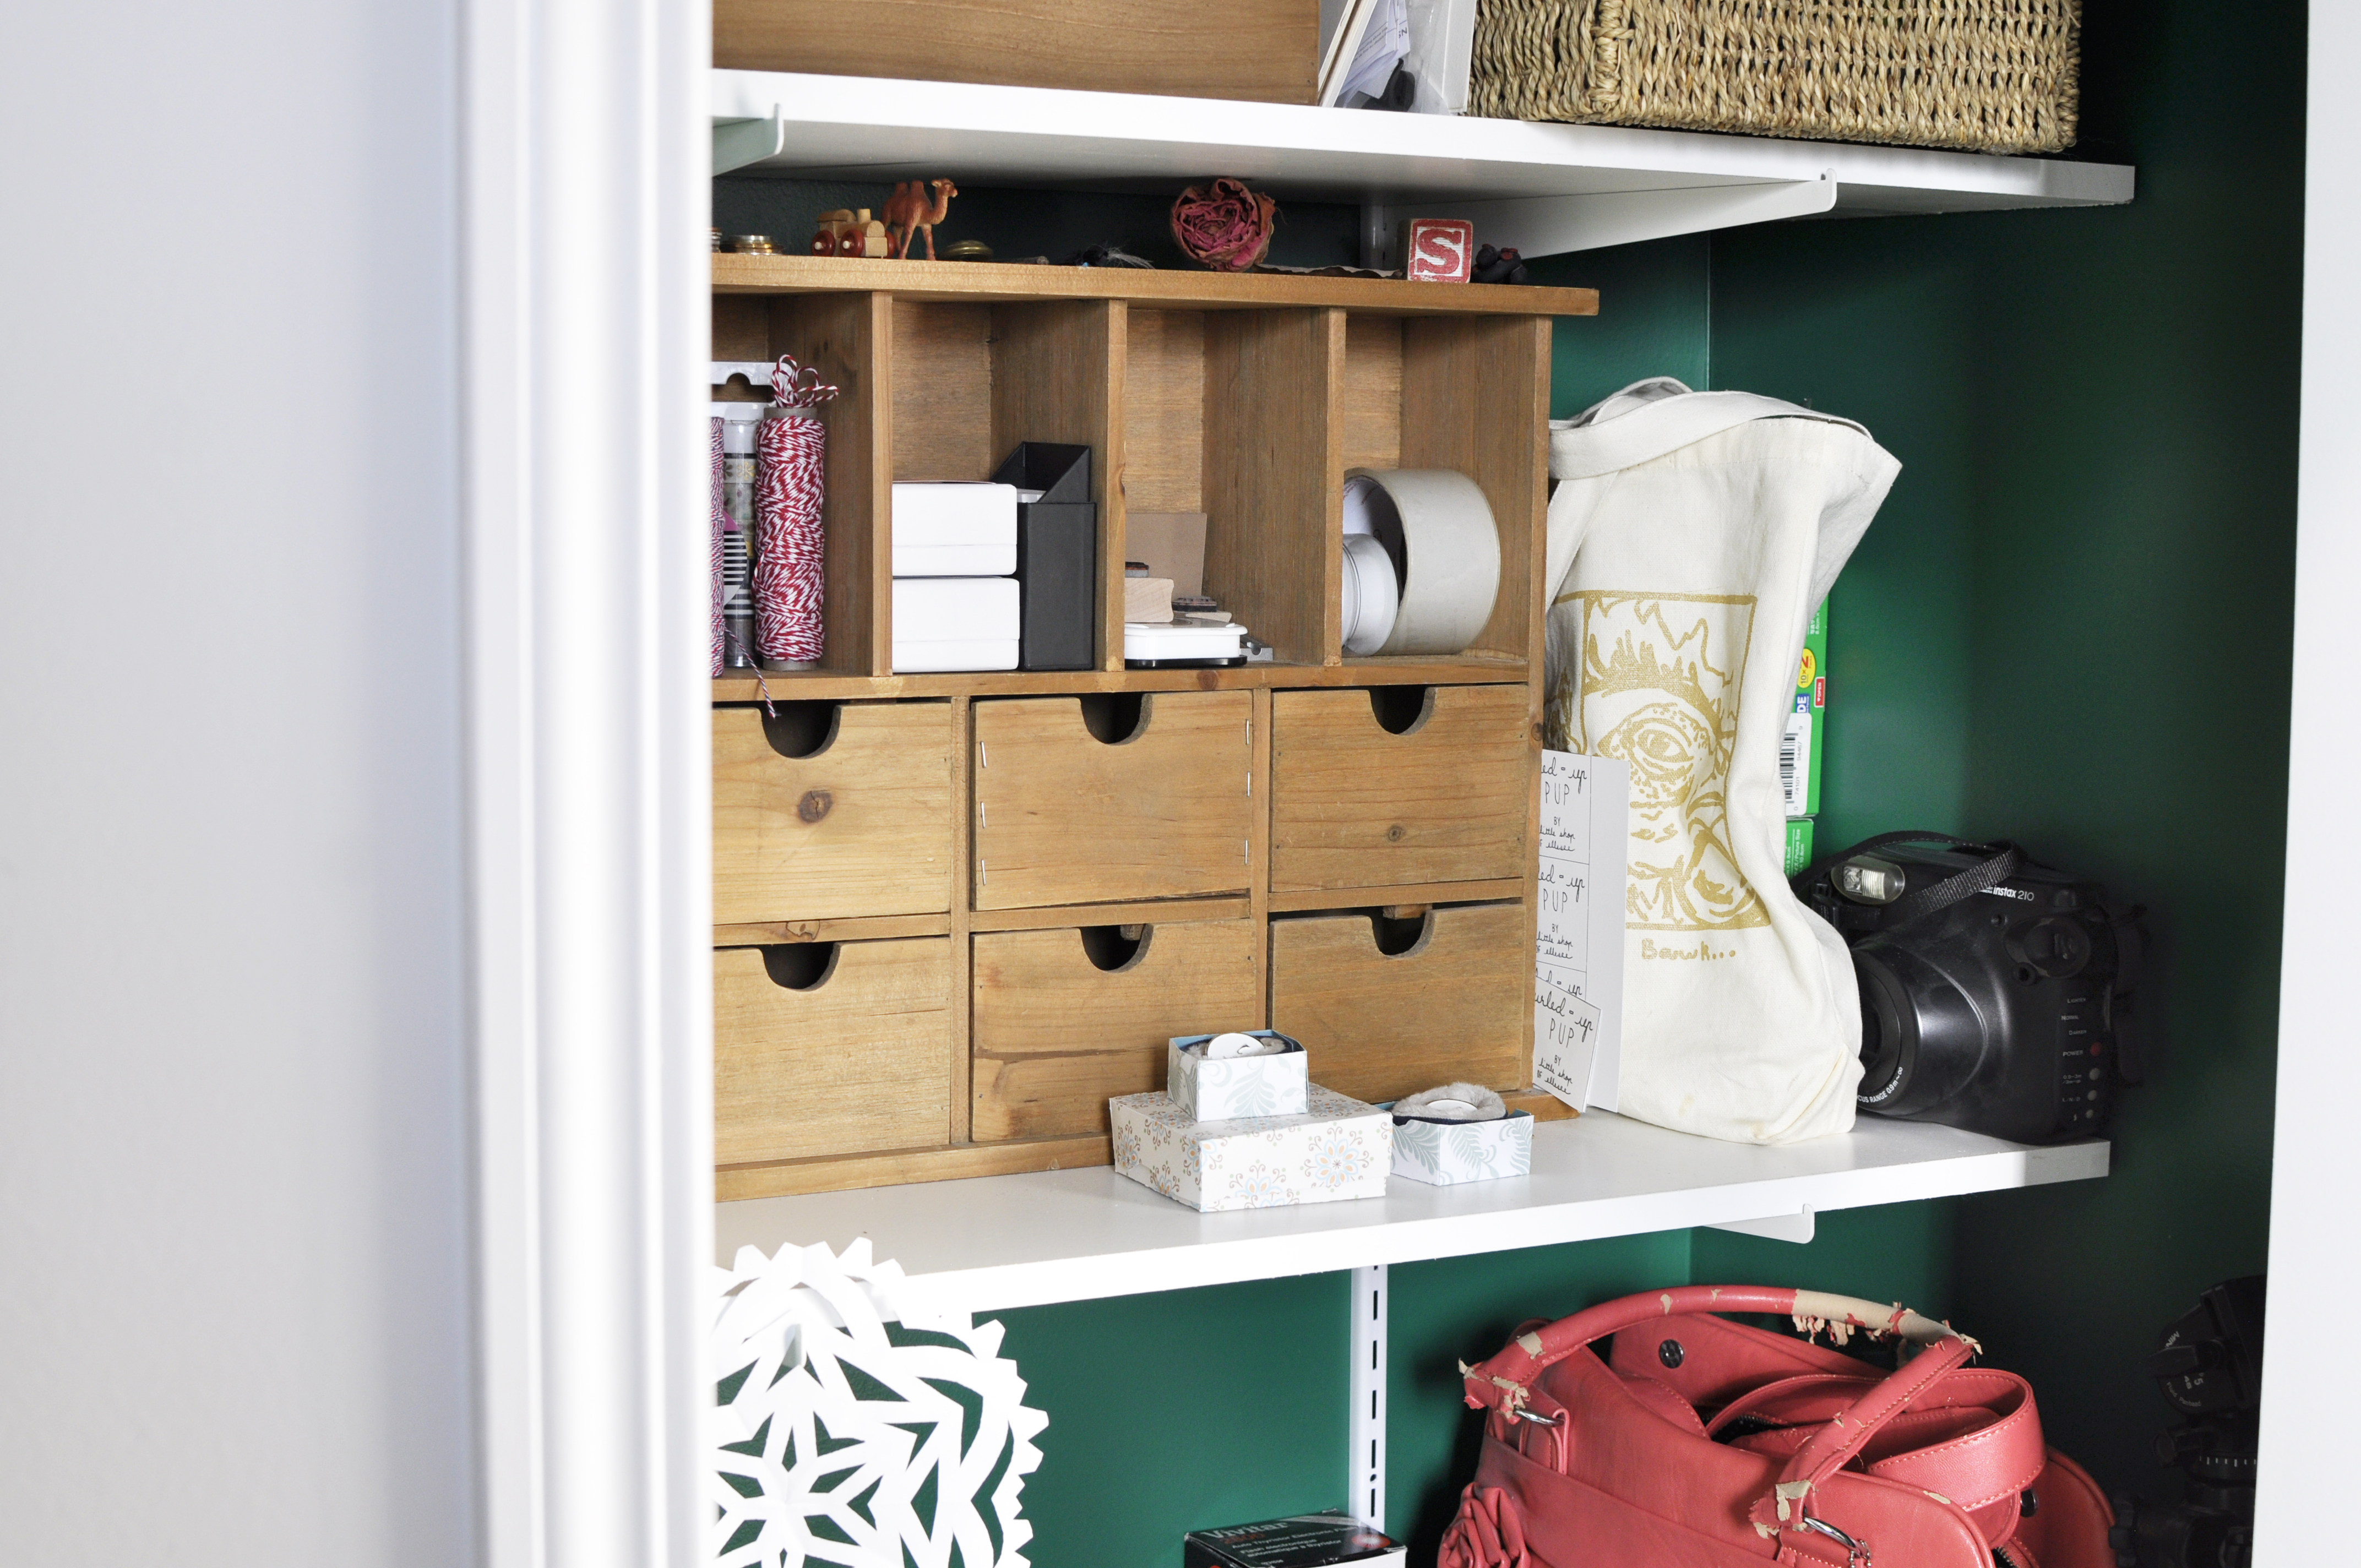
Once everything was hung up, I got to work going through all of the stuff that had been in the closet, and organizing the space (which is currently one of my favourite things to do!). I love the feeling that I get when I open up the closet. It's a secret pop of colour when you open the door, and it's nice to have everything for the shop in one place -- no longer scattered about the room. I am inspired for the next project!
0

Weekend DIY: Front Entry Makeover

January 16, 2022

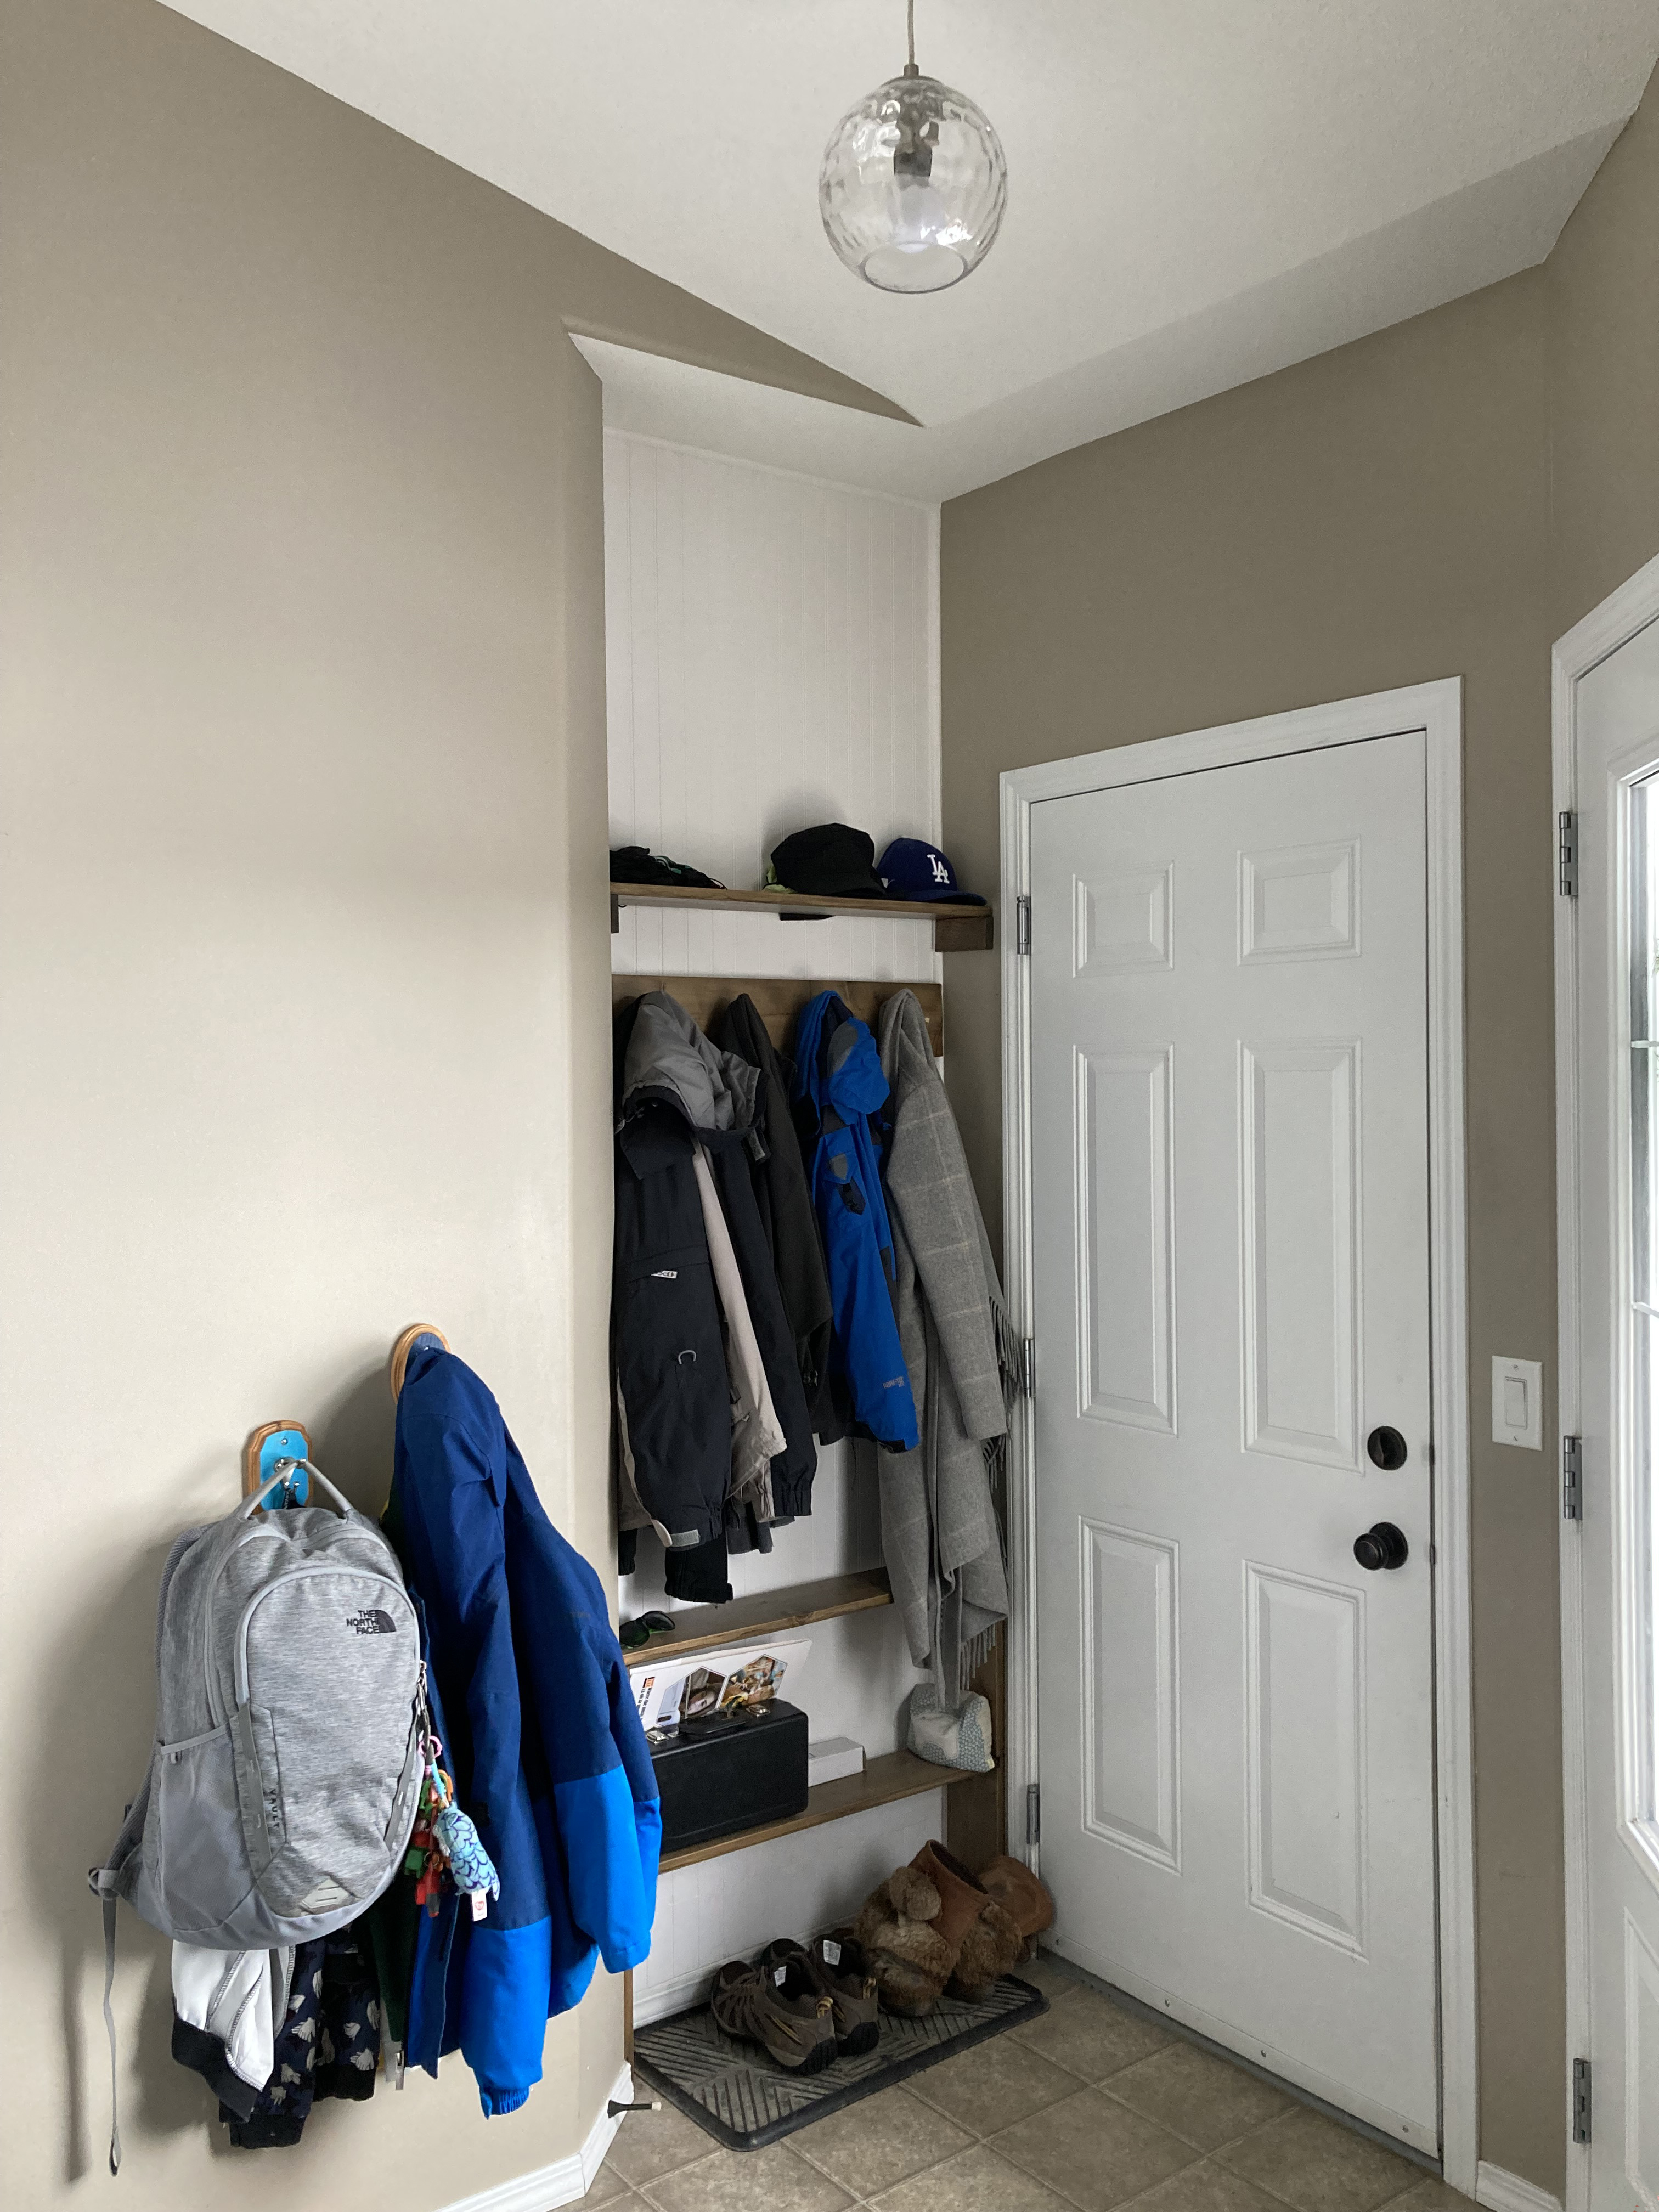
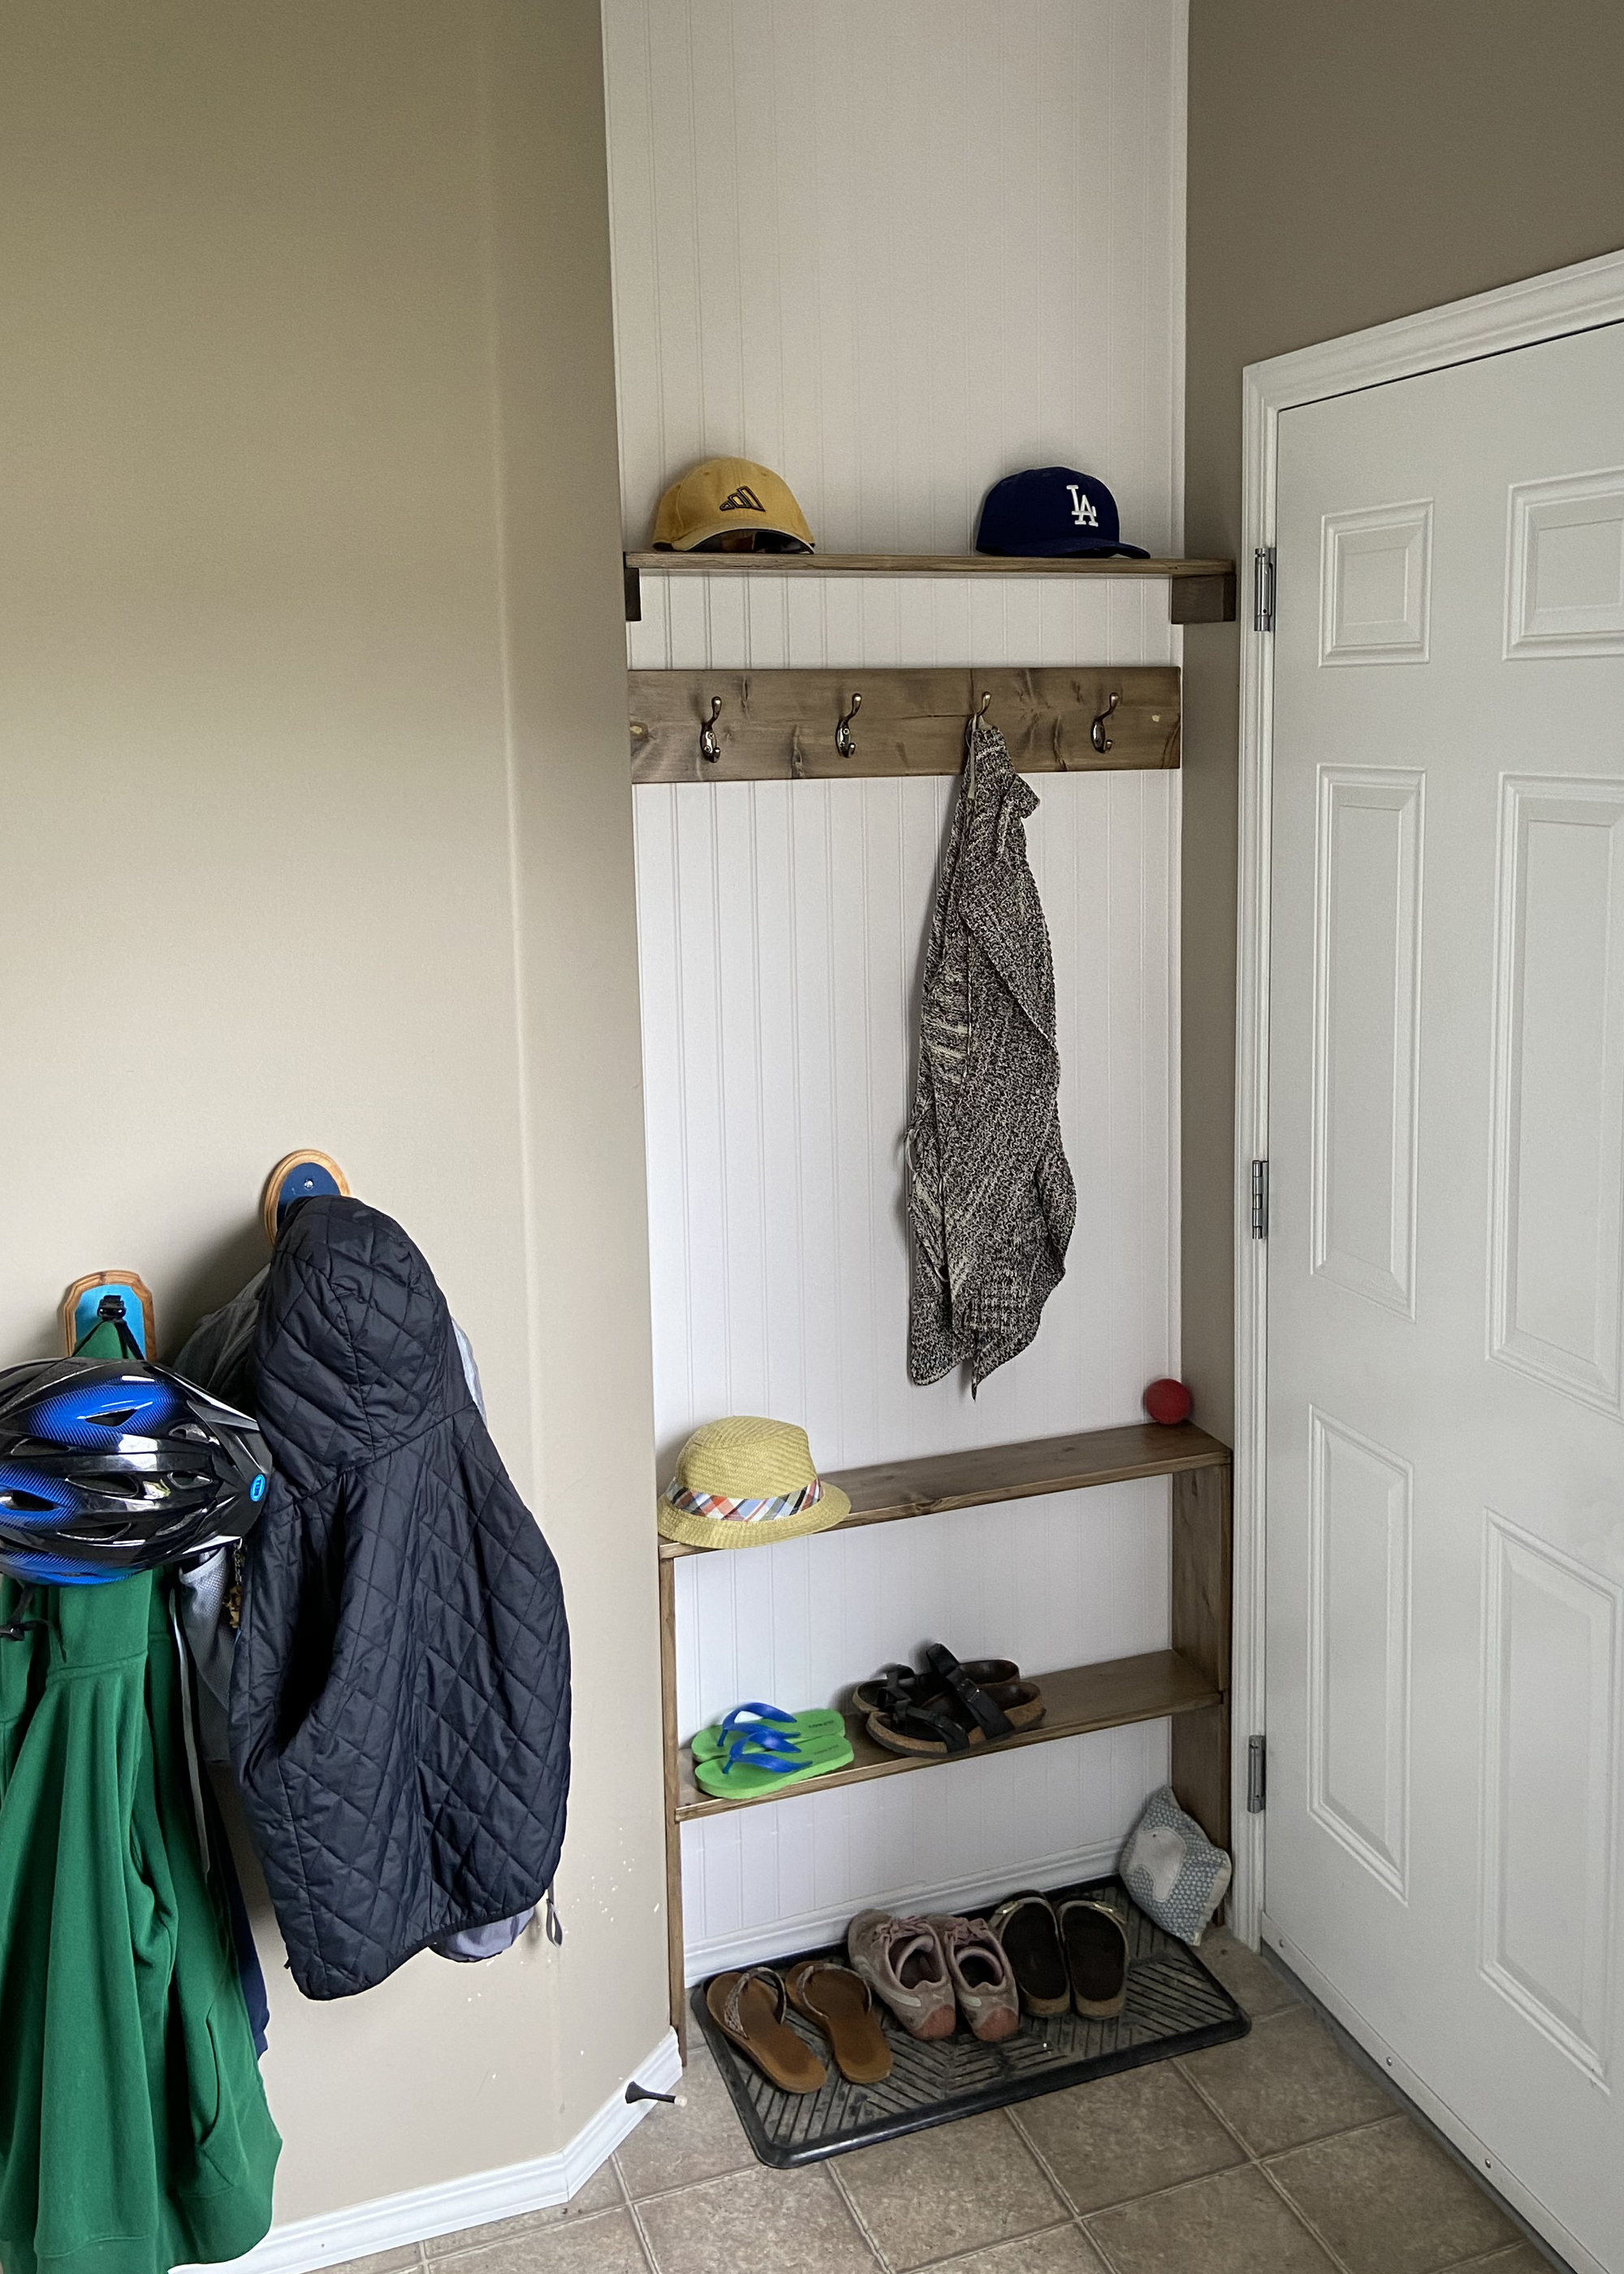
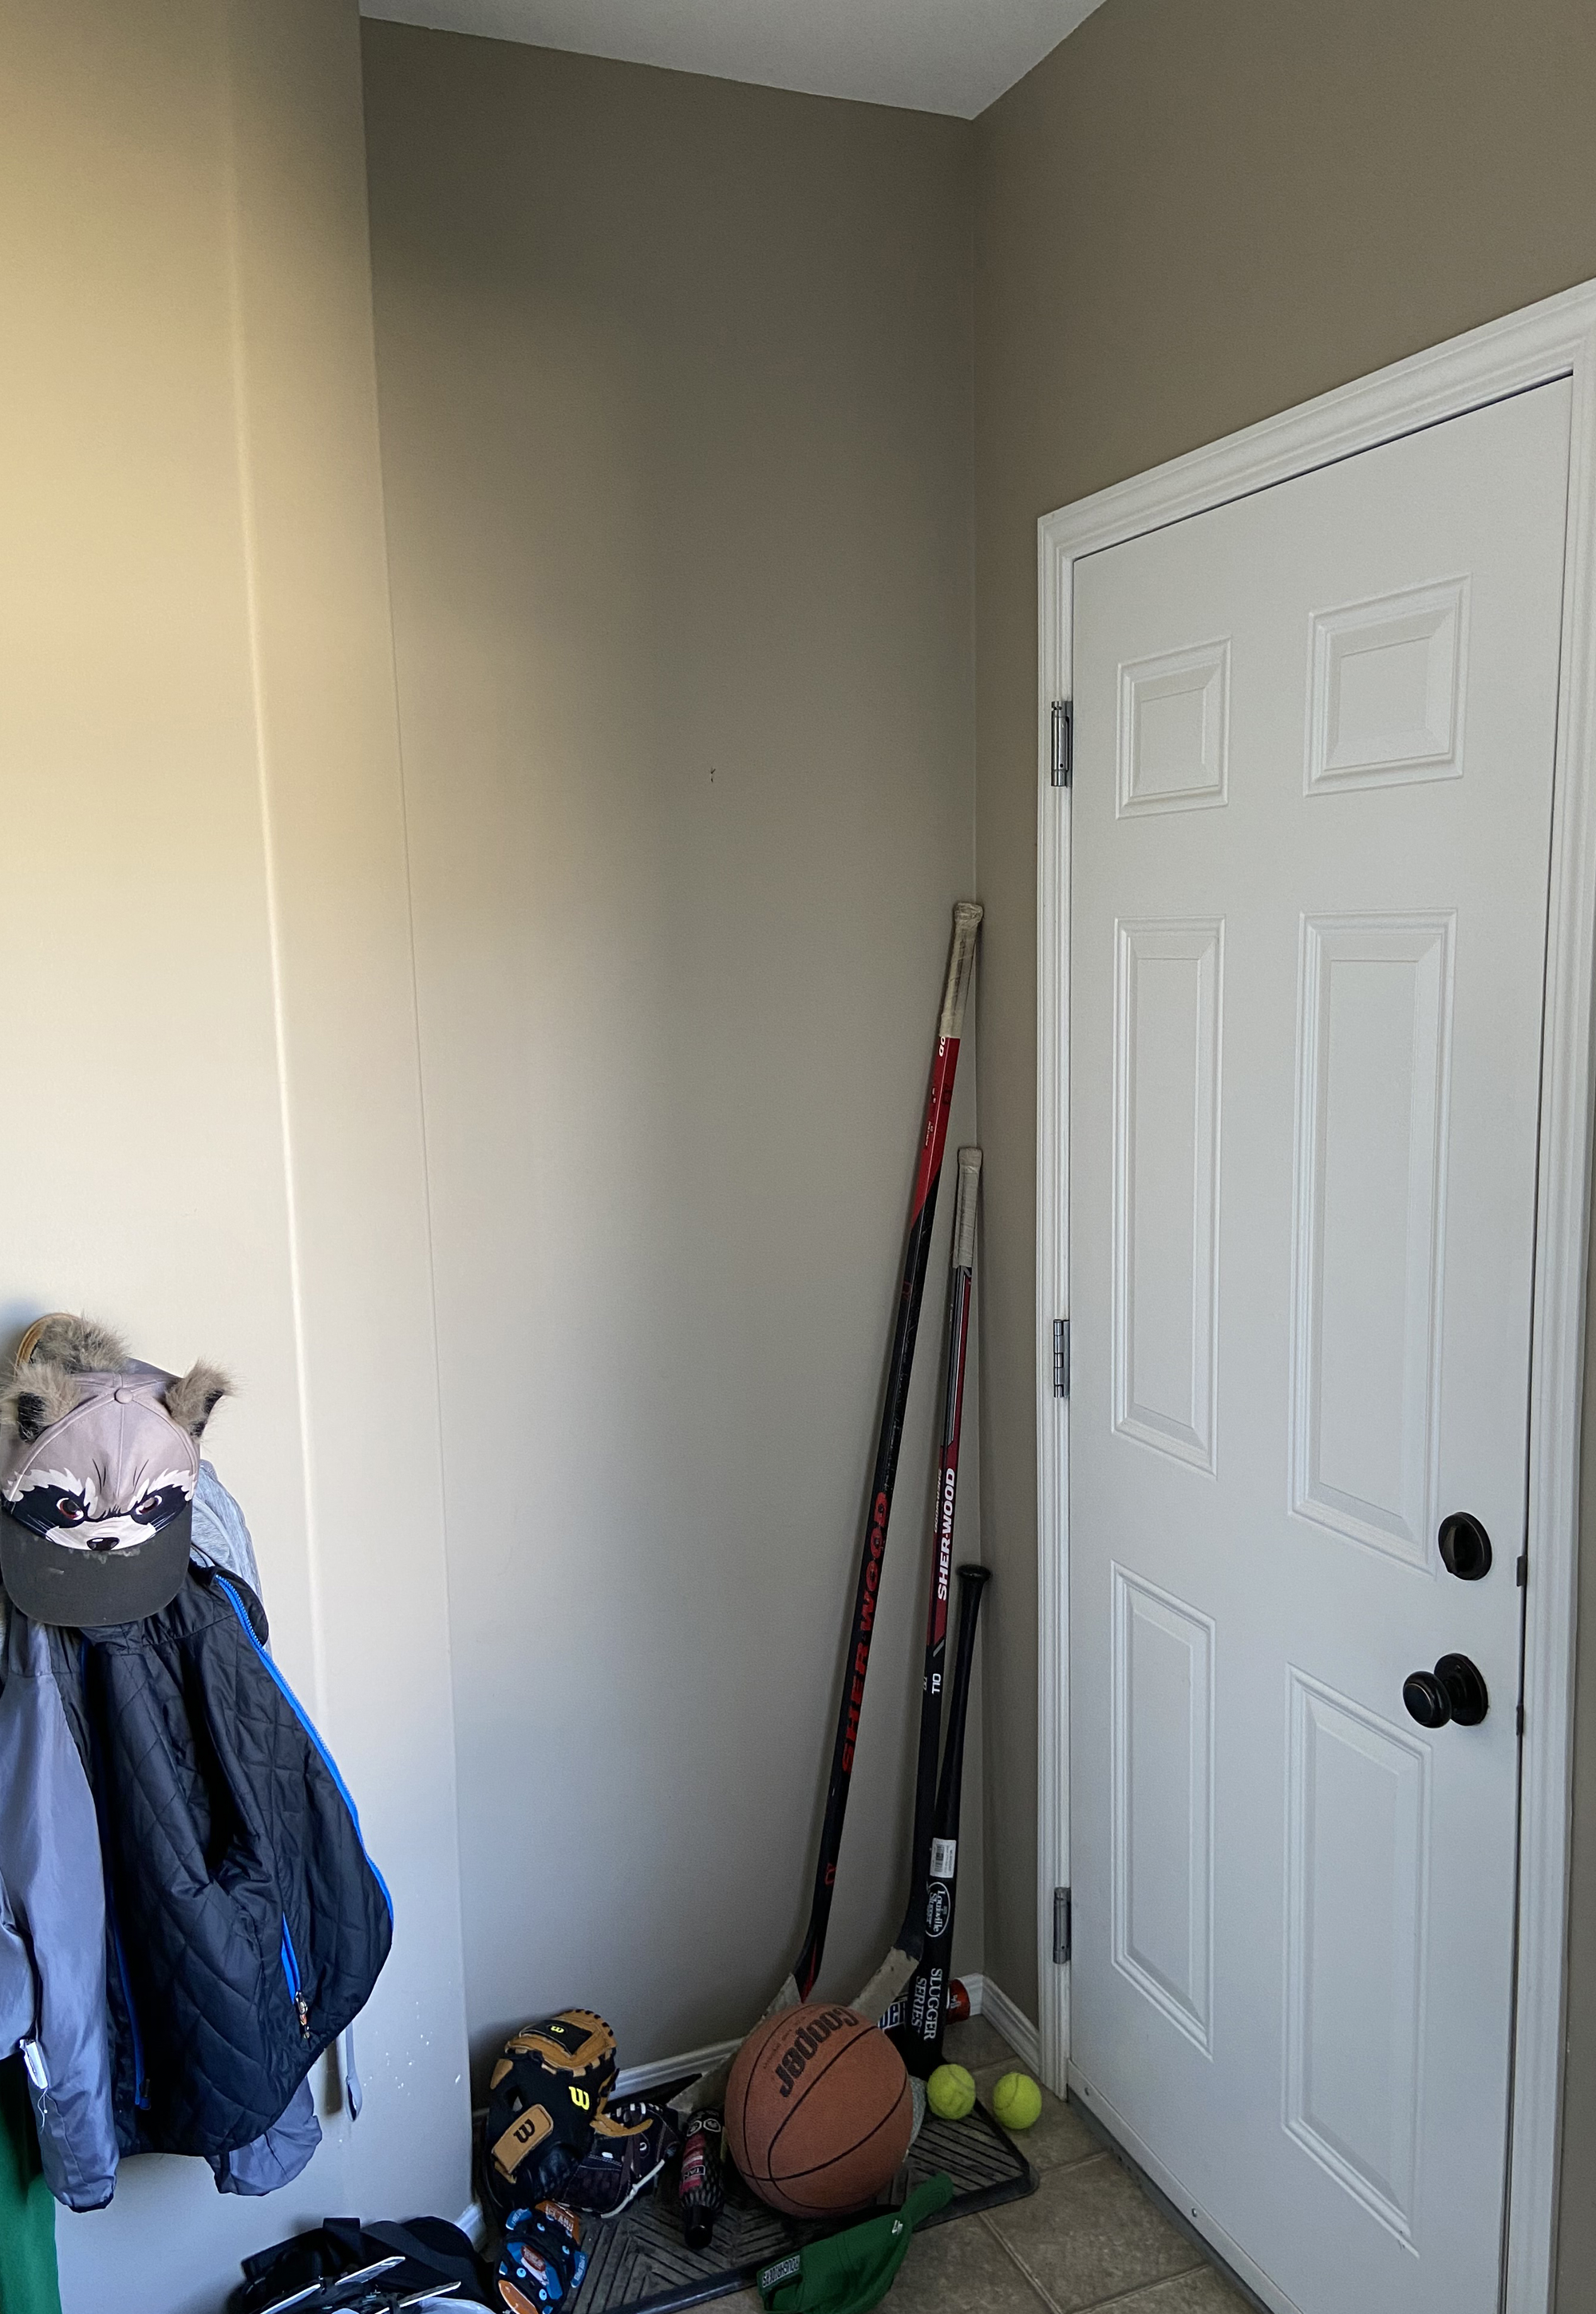
When you live in a small house that is trying hard to use up every inch of space, sometimes you end up with strange little places (I never said they did a good job designing the use of every inch of space). For years we had this weird, useless niche in our front entryway that I could never figure out how to decorate or utilise. Then it dawned on me that we can use it as another place for hanging our coats and storing hats, shoes, etc.


We purchased a panel of beadboard that we used for the length of the niche, put 1/4" round trimming where it joined with the other walls and the ceiling, sealed it up, and applied a couple of coats of paint. After the wall was finished, we set to work making the shelving units and the coat hooks. The niche is not very deep, so the shelves could be no wider than 6 inches. It makes it a bit difficult for storing larger items, but hats and other smaller things can still fit.


We eventually found a glass pendant light that we really liked and added it to the space. After having lived with the whole thing for almost 2 years, I can't remember what it was like before we put it into place. It's honestly weird seeing the photo of the space before we added the beadboard and shelves, but that just shows how much we needed a space like what we created. 

It's made it easier to use our front closet as more of a storage space, and has helped make up for a lack of storage overall in the house. Looking at what it does to the space and how it has added to the house also makes me so happy and love our home even more, which is the ultimate goal when doing small renovations.

0

DIY: Burlap Bunting Banner

April 12, 2013
I found a couple of burlap bunting banners that I liked and ended up pinning on the Pinterest board that I used for inspiration for Little Boy's birthday party. I decided that it would be a simple enough project to do myself, so I bought some burlap and set to work.


First I made a template for the little buntings. A triangle is an easy enough shape to make, but you need to decide how large you want your bunting to be. I went with 3" triangles as I didn't want a very big banner.


I then pinned the template several millions of times to the burlap to cut out enough triangles to spell "Happy Day" including the space between the two words. In fact, I drew out the bunting and wrote the words in so that I knew how many triangles to make.


My burlap was freshly unrolled, so it wasn't very flat. I ended up using an iron to flatten out the triangles enough in order to paint the letters on them.


I had originally bought stencils to use to paint the letters on, but they turned out to be too big for the triangles, so I had to free-hand it all. I'm actually quite pleased with how they turned out. I just used some white acrylic paint and a small paint brush.


I bought some hemp rope to use as the string to hang all of the triangles on. I thread it through the little holes in the burlap by twisting the end of the rope, but it would be a good idea to find a needle that can handle the size of string or thread that you use to make the process quicker.


The end product is a simple little bunting banner that can be used for any occasion, or hung on your wall for an everyday decor item.


I didn't end up taking mine down after the party, and didn't realise it until the day later...I still haven't taken it down.


0
Powered by Blogger.